It shields your family from the elements, it provides security and shade, and it makes living comfortable -- but this integral part of your home is also one of the most overlooked. It’s none other than the roof! This is a comprehensive guide to shingle roof maintenance.
If you want to keep your home in optimal condition, it’s important to pay attention to your shingle roof maintenance and give it the care and attention that it deserves. Neglecting your roof can lead to leaks, damage to attic insulation, sheetrock damage, your roof not lasting its full life expectancy and a number of other problems.
Thankfully, roofs are relatively simple to look after and maintain if you follow the steps outlined in this guide. Let’s take a look!
Shingle Roof Maintenance Quick Links
- Step 1: Before you Start... Safety First
- Step 2: Get Rid of Overhanging Branches
- Step 3: Regularly Inspect and Clean your Composite Roof
- Step 4: Pay Extra Attention to your Chimney
- Step 5: Put an End to Moss & Replace Missing or Damaged Shingles
- Step 6: Keep those Gutters clean and Debris-Free
- Step 7: Head to the Attic
- Step 8: Call for help if you need it
- Step 9: Knowing your warranty
- Step 10: Supplies Needed for Maintaining
- Downloadable Resources
Step 1: Before you Start Your Shingle Roof Maintenance... Safety First
Before we get to the good stuff, it’s important to keep safety in mind. In order to safely climb and access your shingle roof, we recommend using an extension ladder and a safety harness.Once you have all the supplies needed and you are ready to climb on to your roof, make sure to place the ladder on a stable flat surface and slowly climb up.
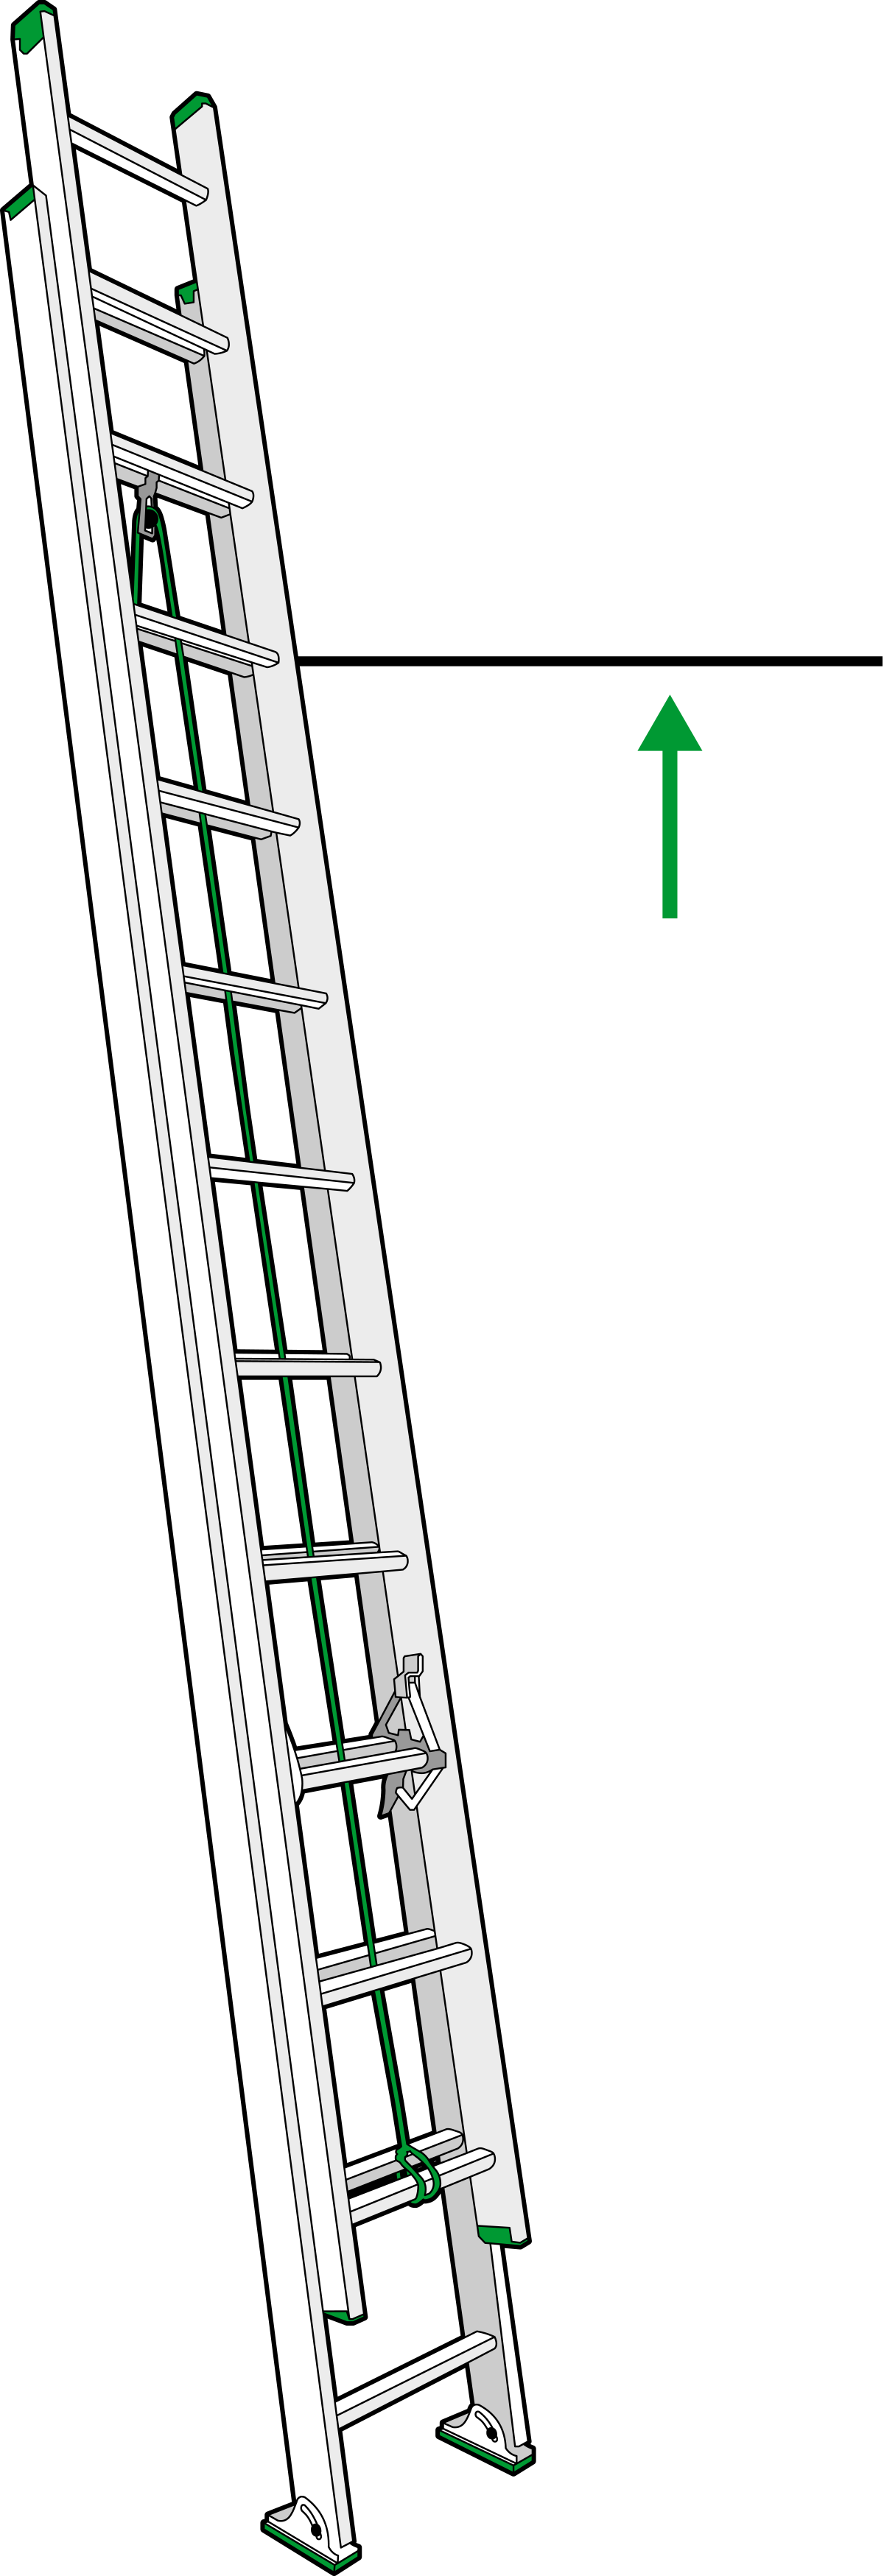
4th rung from the top Highest Standing Level |
Extension Ladders
**The maximum working length is less than total ladder length because of overlap of extension ladder sections. |
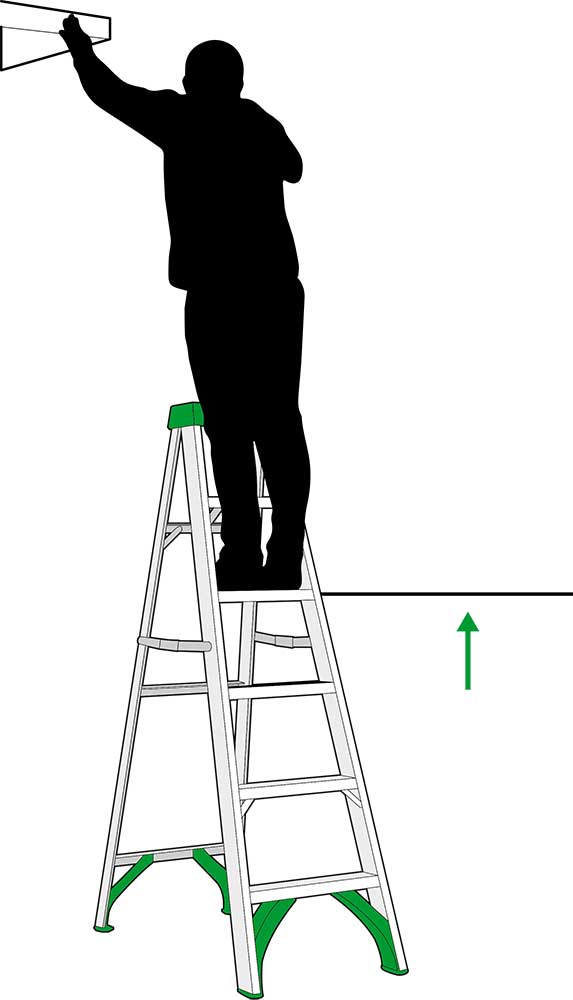
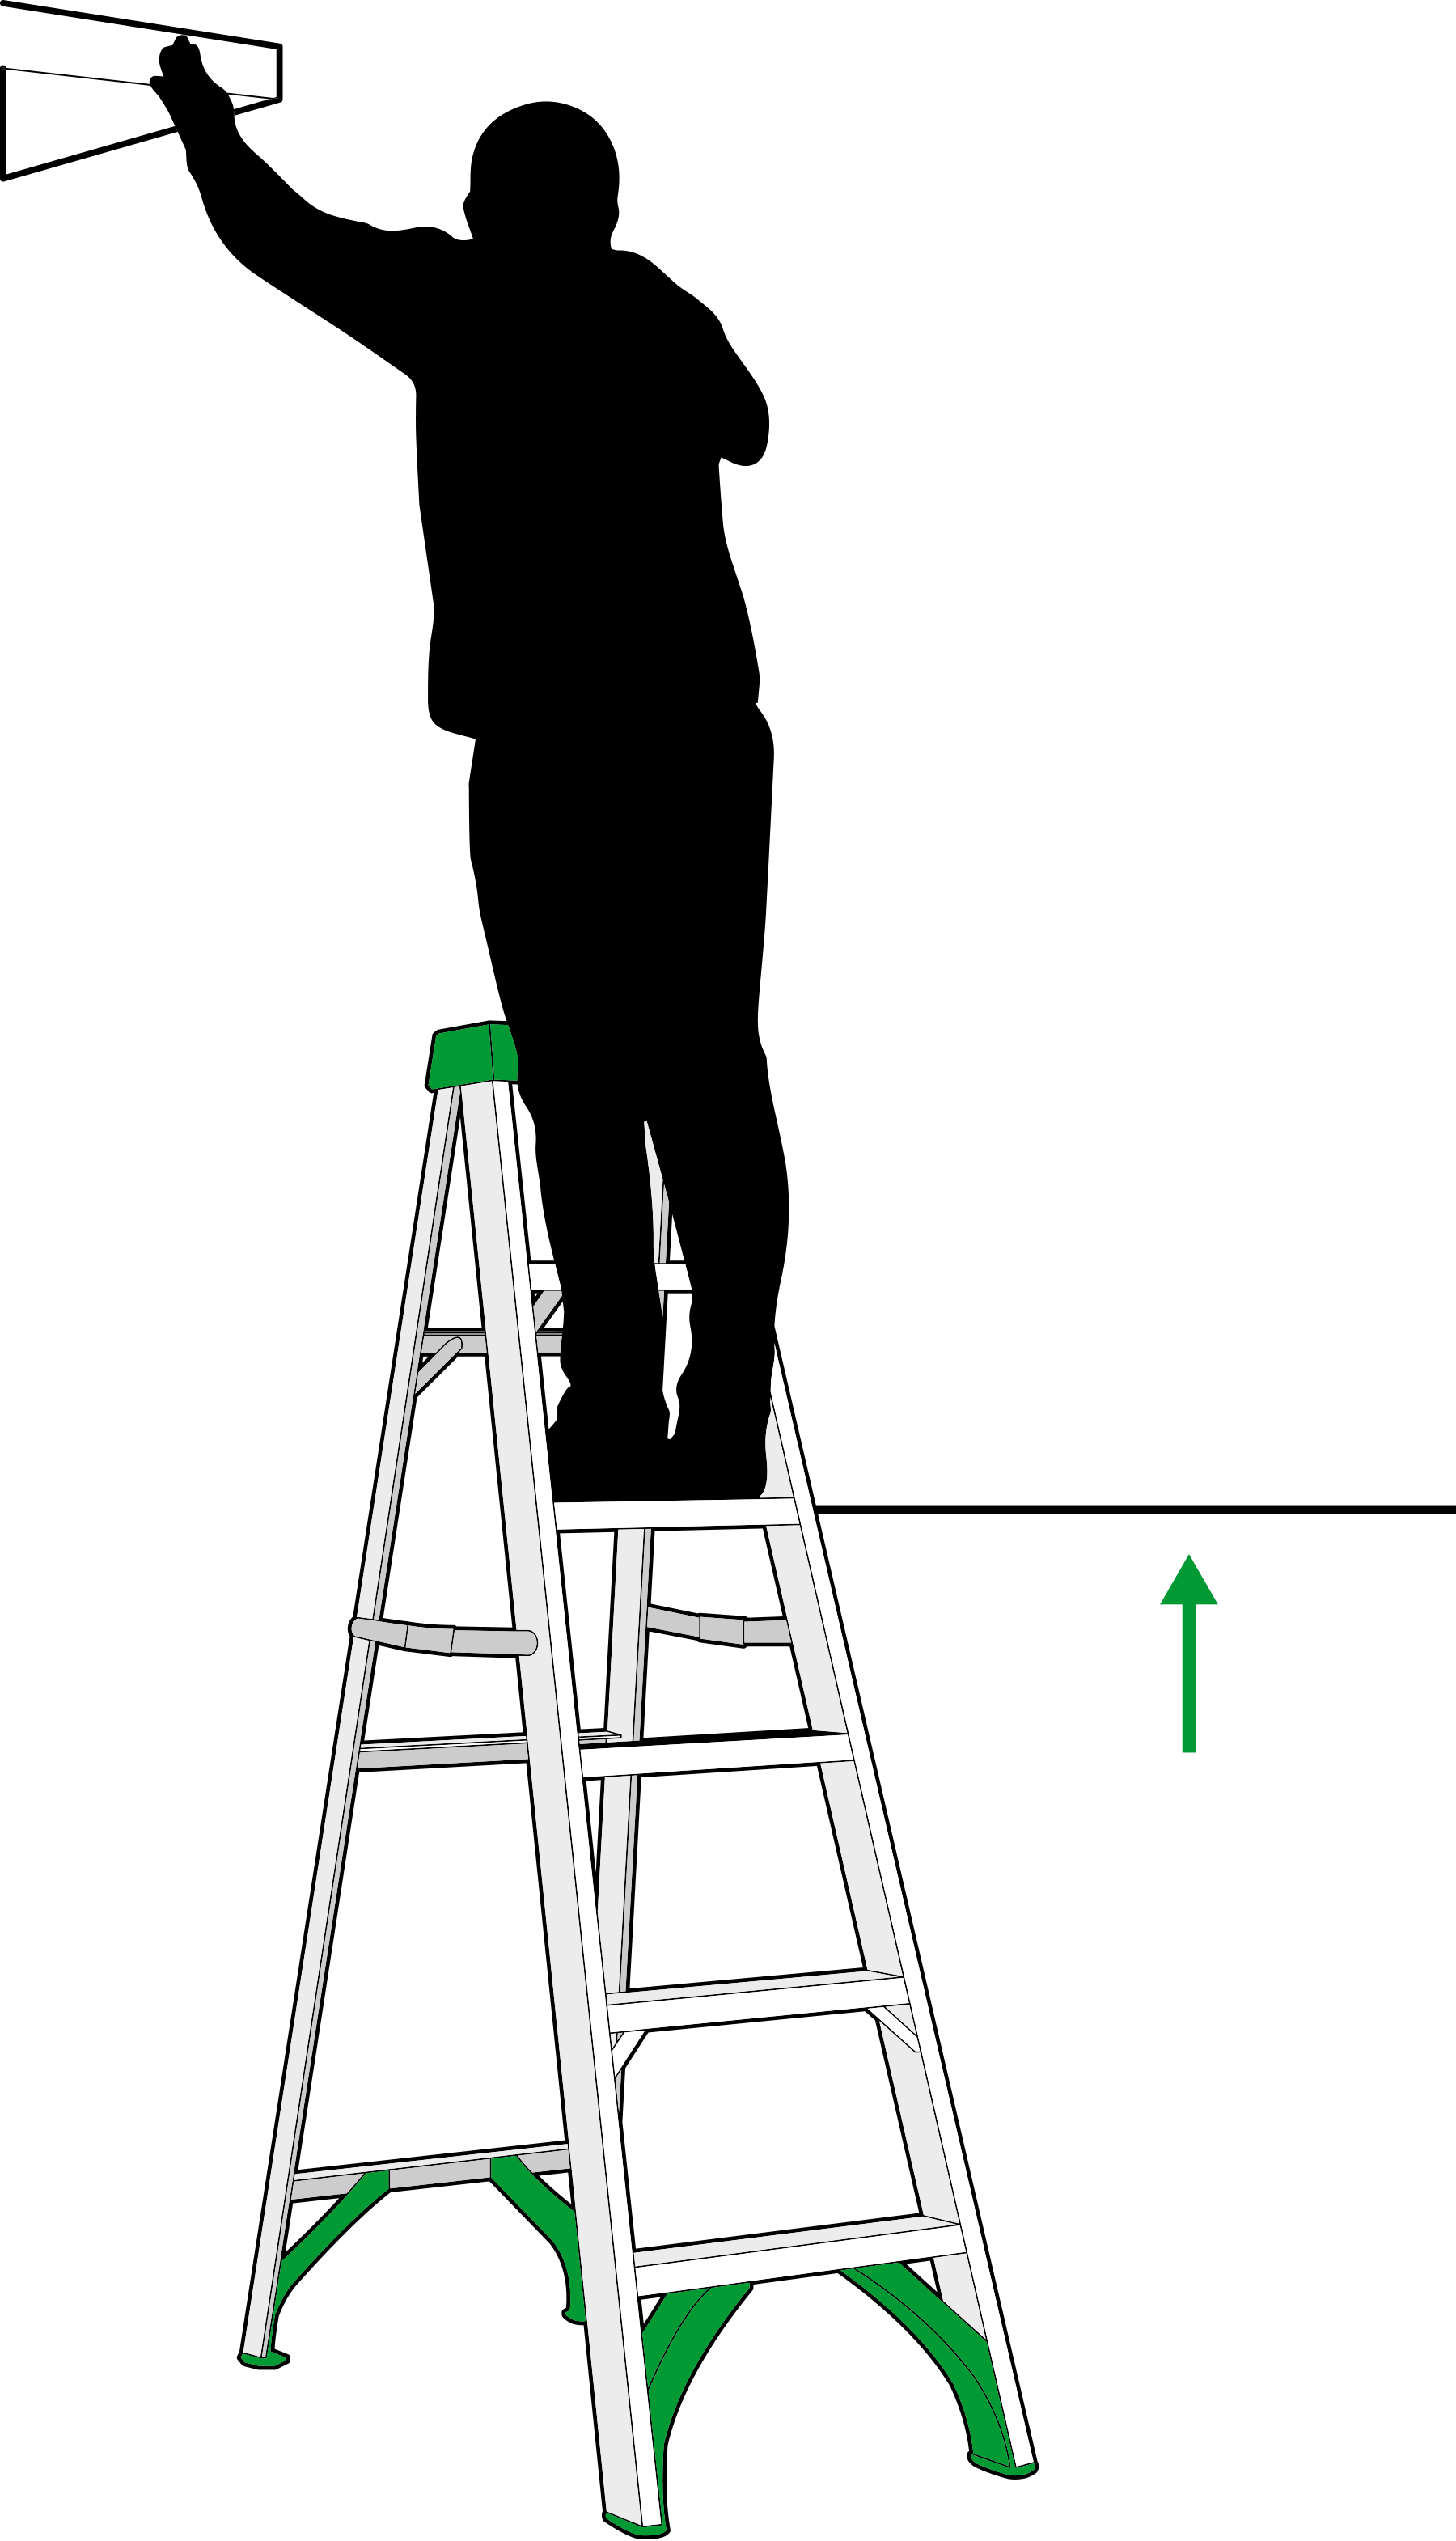 2 steps down from top Highest Standing Level |
Stepladders
**Two steps down from the top |
Likewise, it is recommended to have someone be your “spotter” on the ground to make sure that you are safely climbing up for your shingle roof maintenance. The most important thing to keep in mind as you climb the ladder is to stop at the fourth rung from the top, as this is the safest place to be.
It’s a good idea to access your roof on a sunny day. Aside from the safety factor, the roof will dry faster if you end up using a cleaning solution.
Finally, make sure to wear comfortable non-slip shoes (tennis shoes are a good option) and carefully inspect the shingles before stepping on them. Walking on composite roofs can be safe if the granules stay in place.
When the granules on a composite shingle roof become loose, walking on a composite roof is very dangerous. Always make sure to test out a small area before embarking further. To test an area for loose granules, simple step in an area and see it the granules stay in place. If they are loose and come unglued, then you need to carefully get off your roof.
▲ Back to MenuStep 2: Get Rid of Overhanging Branches
That wonderful shade tree you’ve got in your yard might look nice, but it’s a disaster waiting to happen if there are branches hanging over your roof. Keep overhanging branches trimmed for several shingle roof maintenance reasons.
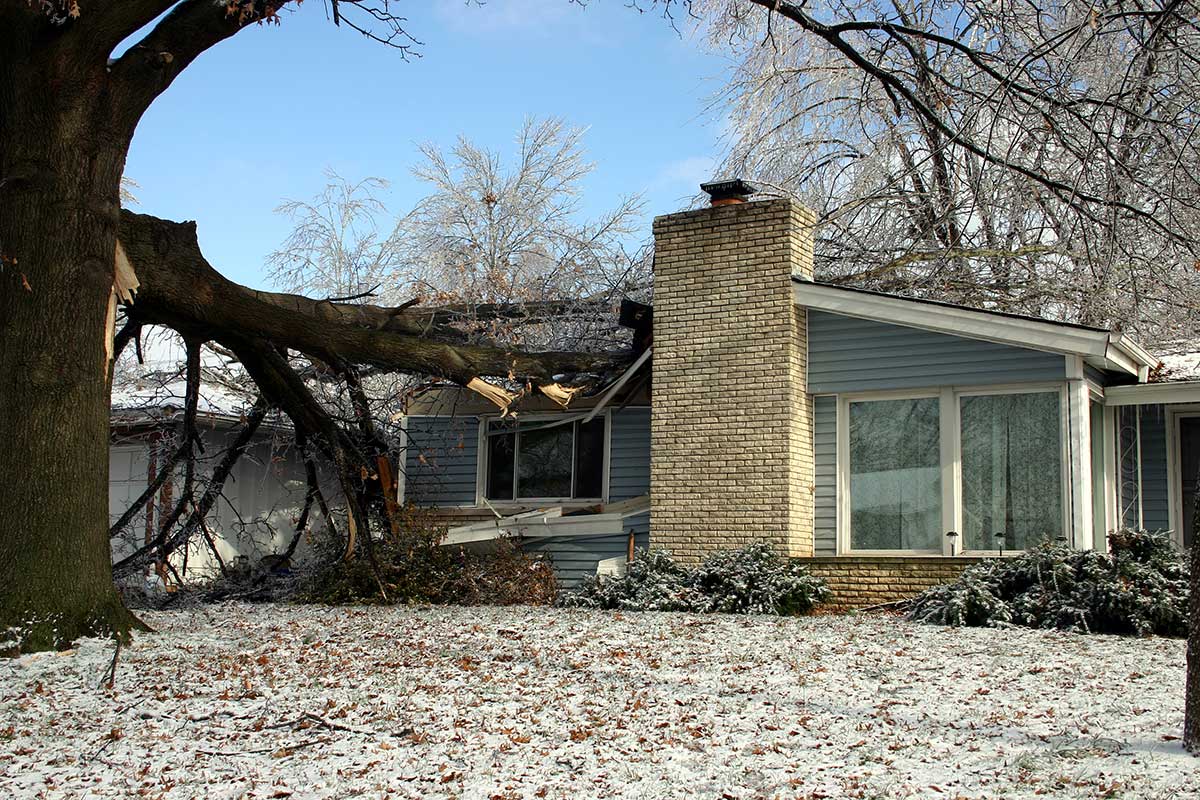
First, you don’t want a storm sending that branch crashing down onto (or through!) your roof. Second, you don’t want falling leaves to collect and rot on the surface of your roof. Rotting leaves act as sponges, soaking up a surprising amount of water. If they’re left unchecked, leaves and branches could start to rot your shingles.
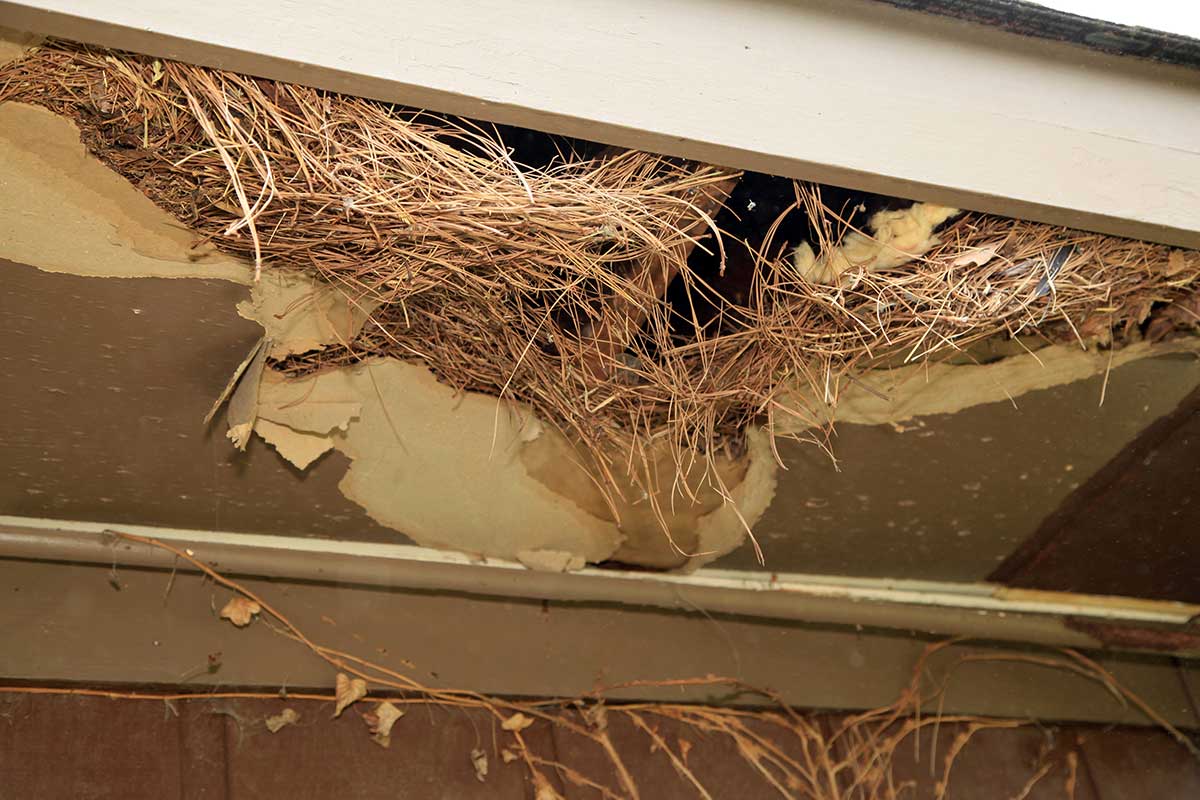
Third, branches should be at least three feet from your roof to avoid the possibility of rodents from climbing trees, jumping on to your roof, and entering your home through an opening in your roof. Our company finds a lot of raccoons in the attic or nesting underneath the eaves on roofs. In fact, rodents and pests like rats, squirrels, and even ants all use the branches like a highway. Make sure to keep branches, bushes, and ivy off of your roof.
Keep Branches Trimmed
If the overhanging branches are manageable, we recommend trimming them regularly. If they are overgrown or unmanageable, it is best to call a tree trimming service. We recommend contacting a local certified arborist in your area.
If you have any damage occur to your roof or home due to tree damage, immediately call your insurance company for instructions on what to do next. Some insurance companies might want to send an adjuster out before anything is done to mitigate the damage, while other companies might want you to get someone out immediately to start taking care of the damage sooner than later. Most homeowners policy cover tree damage. Reference your homeowners policy for coverage details.
▲ Back to MenuStep 3: Regularly Inspect and Clean During Your Shingle Roof Maintenance
Below are problems should be addressed during your cleaning inspection step of your shingle roof maintenance. Keep in mind that any one of these problems can be an indication of a need to replace your roof.
Roof type, age and the care given to the roof over the years are all factors in considering a roof replacement, along with potential problems you find that are listed below.
The less care you have given your roof and the older the roof age will increase the likelihood of the need for a replacement.

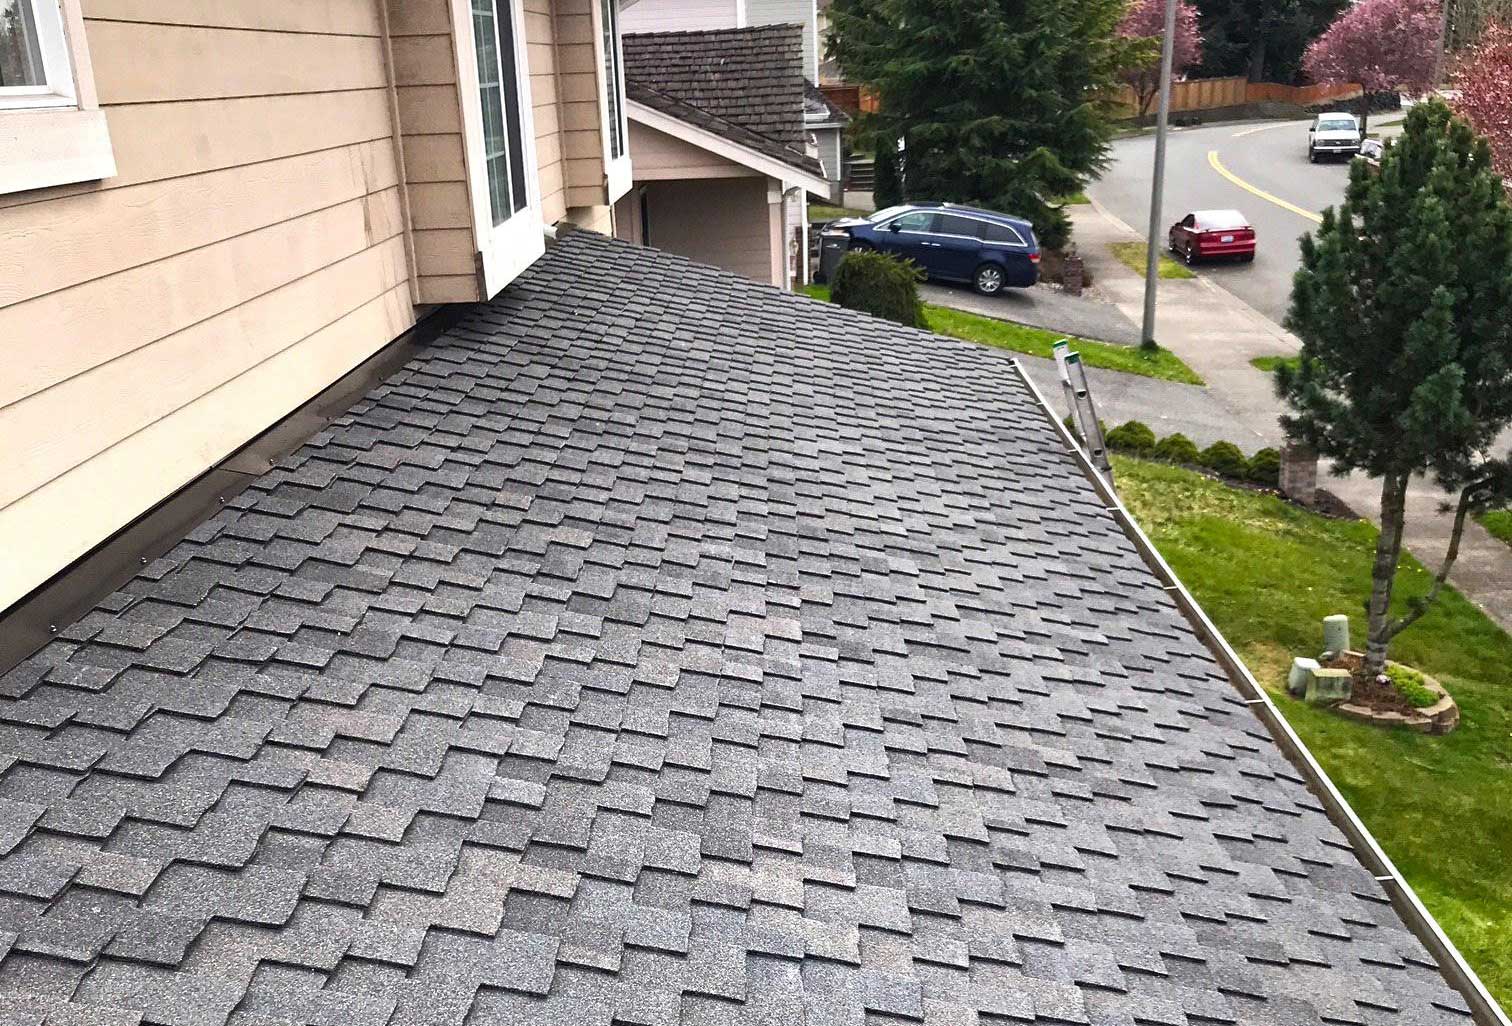
Keep Your Roof Clean
The basic foundation of having healthy and working shingle roof maintenance is to regularly inspect and clean it. It is recommended to clean your roof at least once a year, but we suggest at least three or four times a year, or after a heavy storm. By doing so, you’ll be able to quickly spot major issues, such as roof leaks, ventilation problems, and unwanted guests (such as bats, bugs, and squirrels).

Look for Potential Leaks from Above
Sometimes, areas of your roof that could be causing a leak can be spotted from the top of your roof during shingle roof maintenance.
The other option to spot leaks is to go inside the attic during a rainy day and shine a flashlight around the ceiling. Since light picks up drops of water, you’ll easily be able to spot any damage. We cover this in more detail later in this article in our “Step 7: Head To The Attic” section.
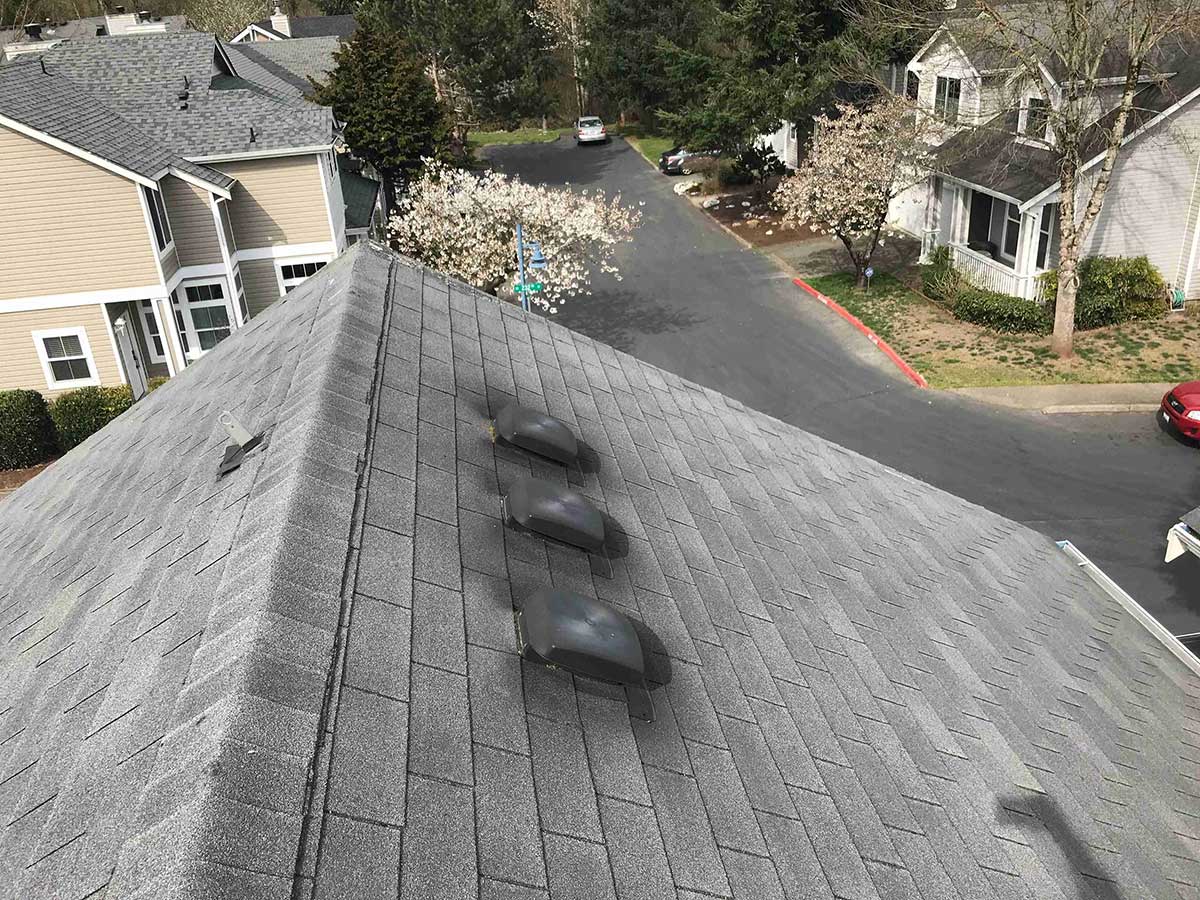
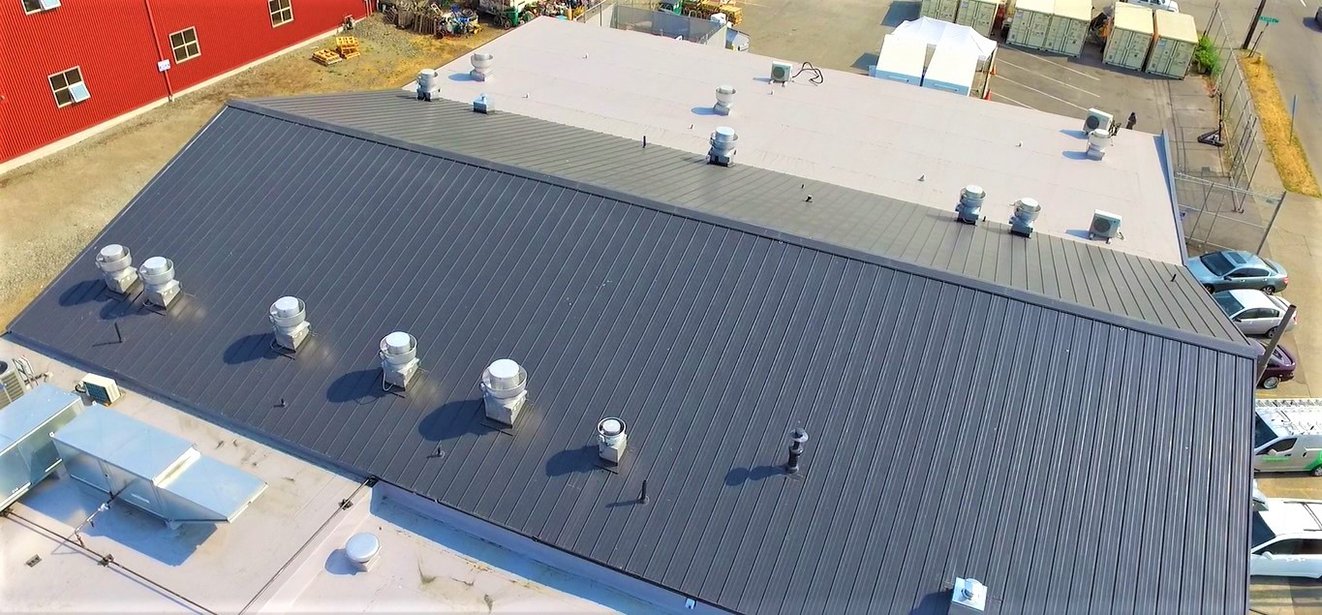
Look for Ventilation Problems
Likewise, ventilation problems can easily be diagnosed if you feel that the air is musty, there is mold or mildew growth, and/or if the attic feels damp.
Under ventilated attic spaces are very easy to spot: there are usually black stains on the roof that come from the excessive heat build up. We recommend installing a ridge vent in order to help with ventilation.
A ridge vent is a type of opening installed at the peak of a sloped roof that allows warm humid air to escape from a building's attic. It prevents hot pockets from forming on the roof, and keeps the house cooler in the summer and dryer in the winter.
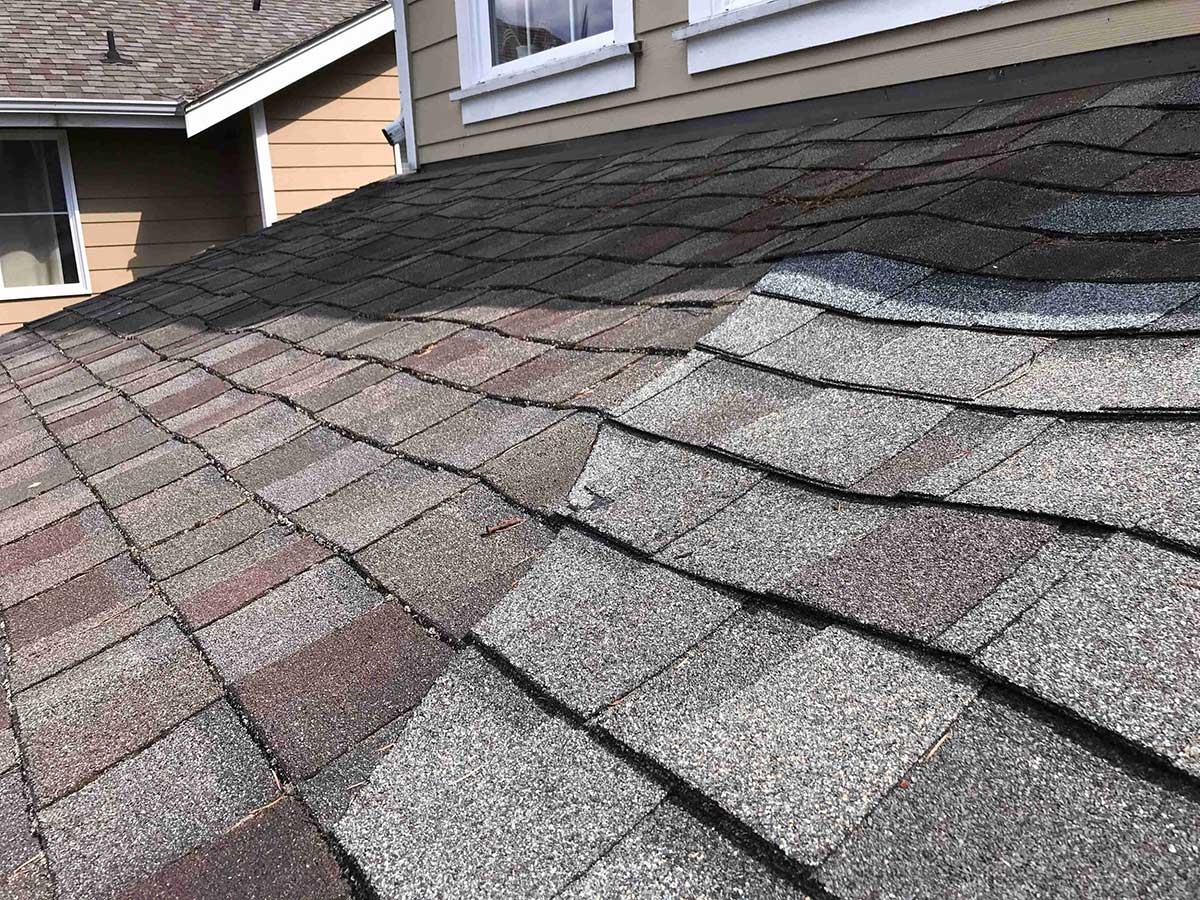
In the image above, this is rare in most houses. However, the wavy wood is from a lack of ventilation and is a common problem for houses where a roof with a ventilated space underneath it meets a wall. The term dry rot is from the wood getting so hot it dries out and will start to delaminate.
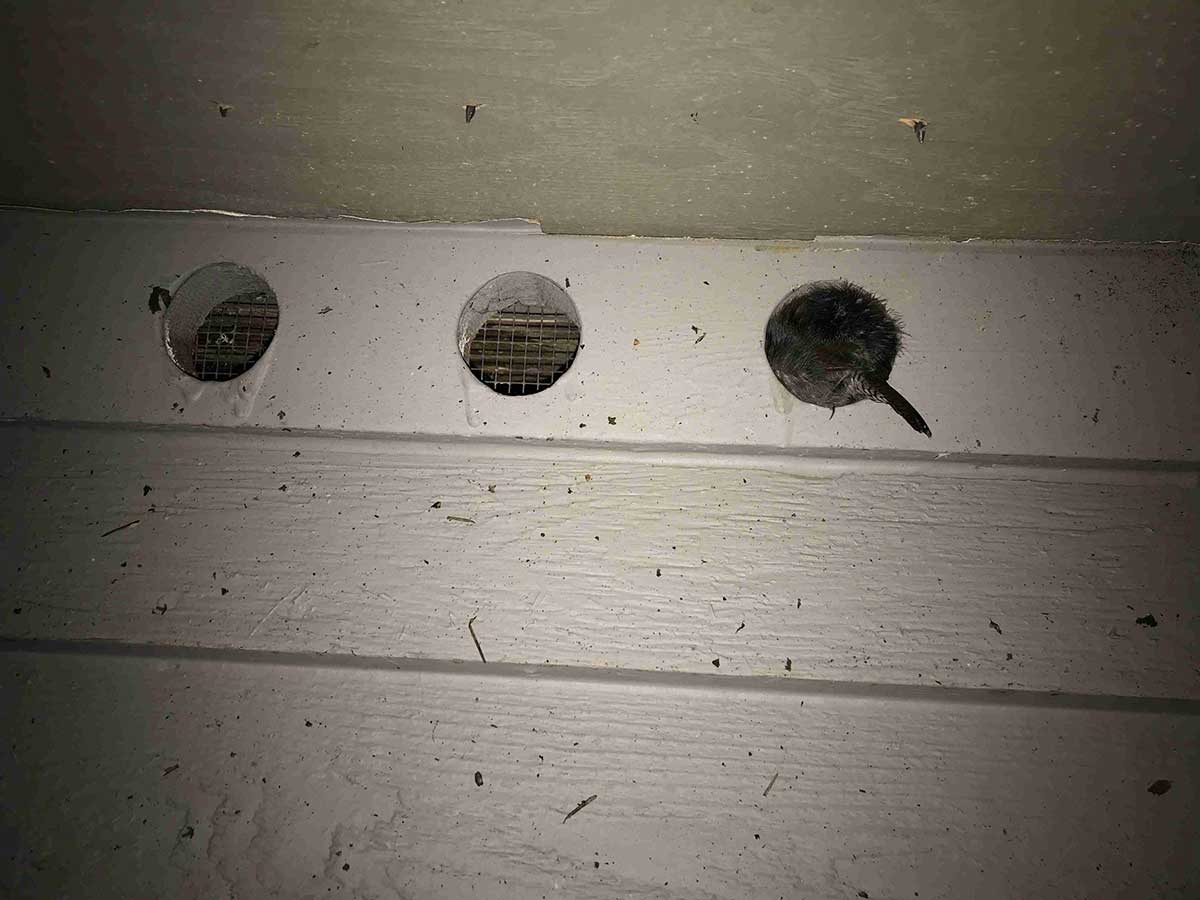
Make Sure there are No Openings
It is especially important to check for unwanted guests such as rats during your shingle roof maintenance, who only need a small opening (sometimes less than 2 inches!) to get inside your home. Although roofs offer natural protection thanks to its sturdy material, it can wear off over time and lead to cracks and small holes for critters.
Once you’ve properly inspected your roof and are ready to clean it, we recommend using a broom to sweep any debris off.
Afterward, it’s a good idea to check for signs of depletion and worn-out shingles.
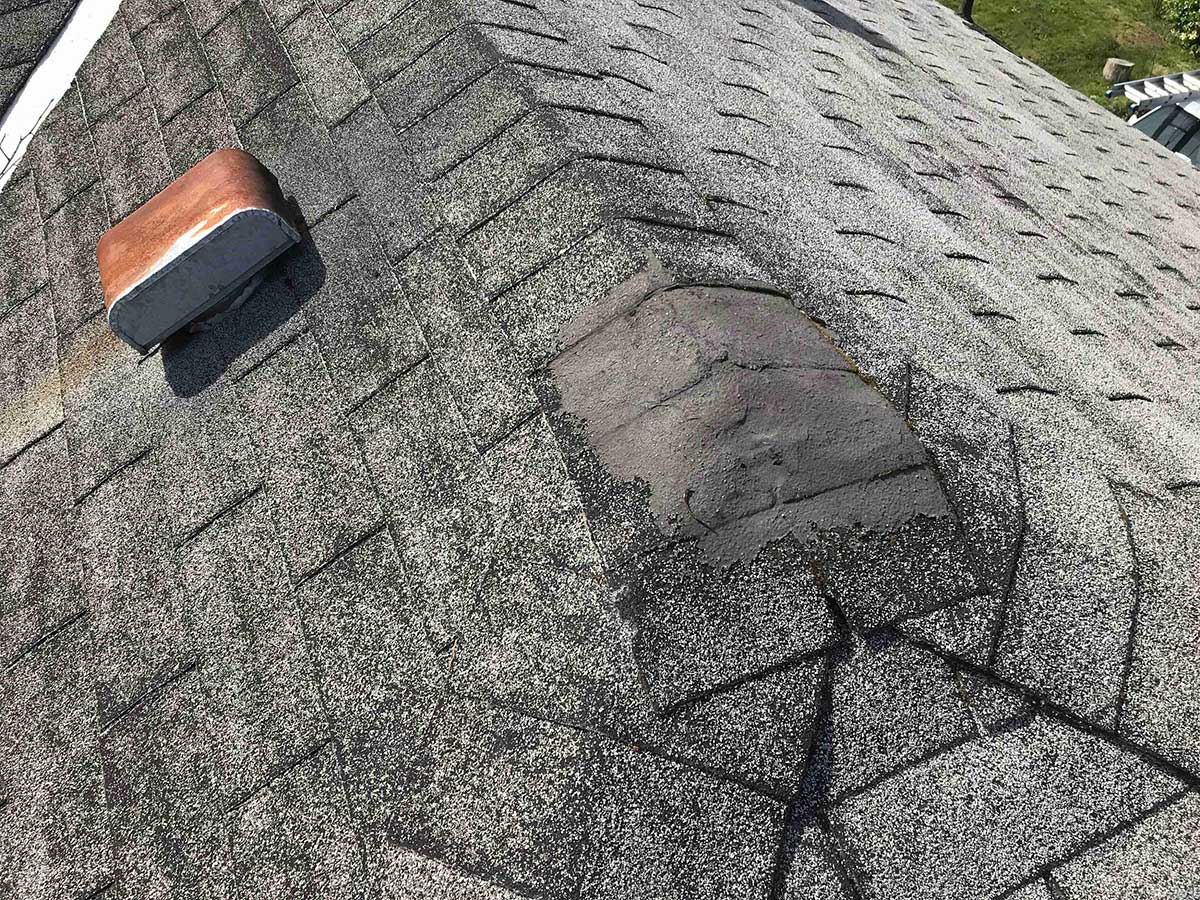
Look Damaged/Worn Shingles
As the roof naturally ages, granules will start to come off of the roof. These are pieces of roof material that look like little rocks. This can happen even faster if the shingles are of poor quality (such as having too much stone filler) or ventilation is inadequate. When granules come off it exposes the asphalt to the harmful UV rays, which dry out the asphalt and start to crack. When the asphalt cracks, it exposes the fiberglass mat in the shingles, which soak up water and rapidly deteriorates the shingles and the roof.
When choosing shingles, we recommend going with a specialty product such as CertainTeed, which is only available through authorized retailers and contractors. As a general tip, most professionals get their materials from specialty stores instead of big retailers (such as Home Depot), since they do not carry the best of anything.


Three Tree Roofing is a Certainteed Certified 5 Star Contractor which means all of our work is warrantied by us and Certainteed.
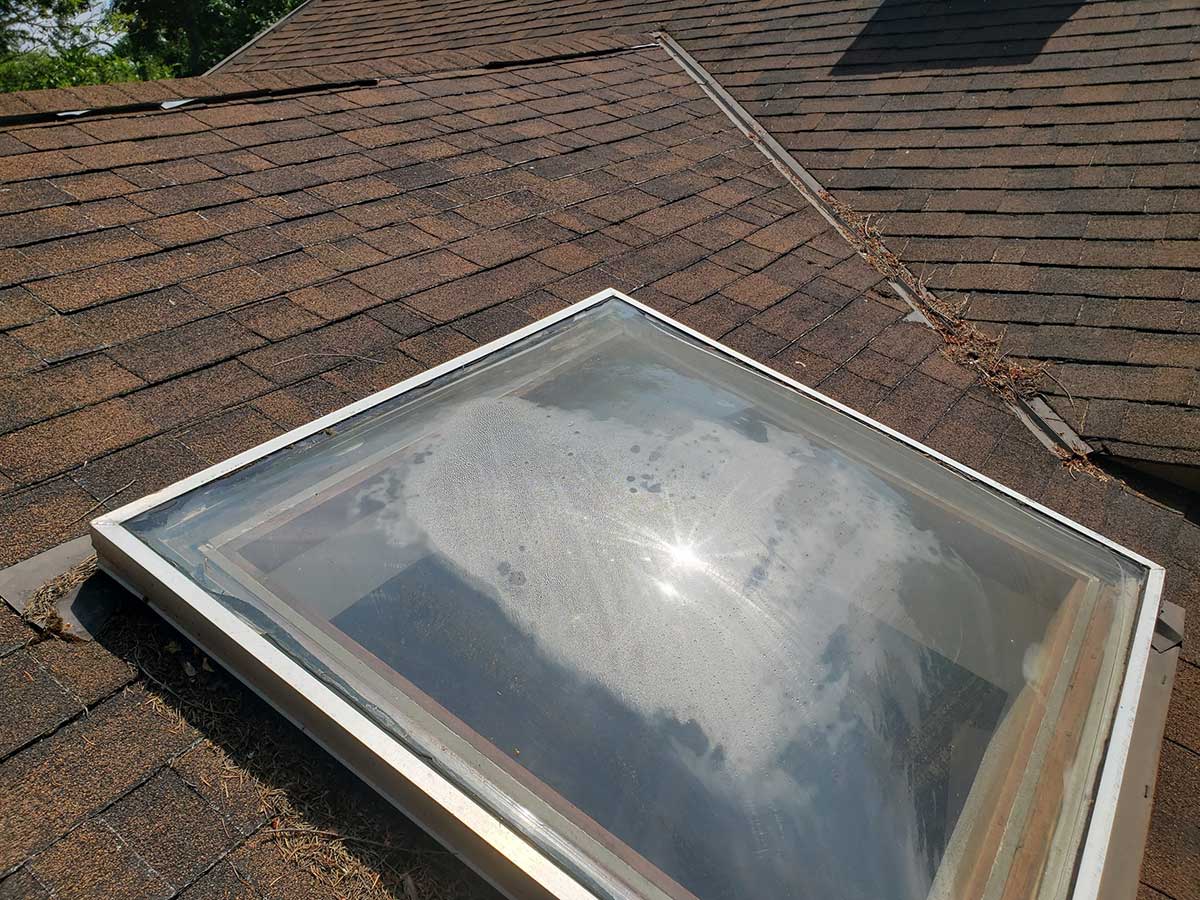
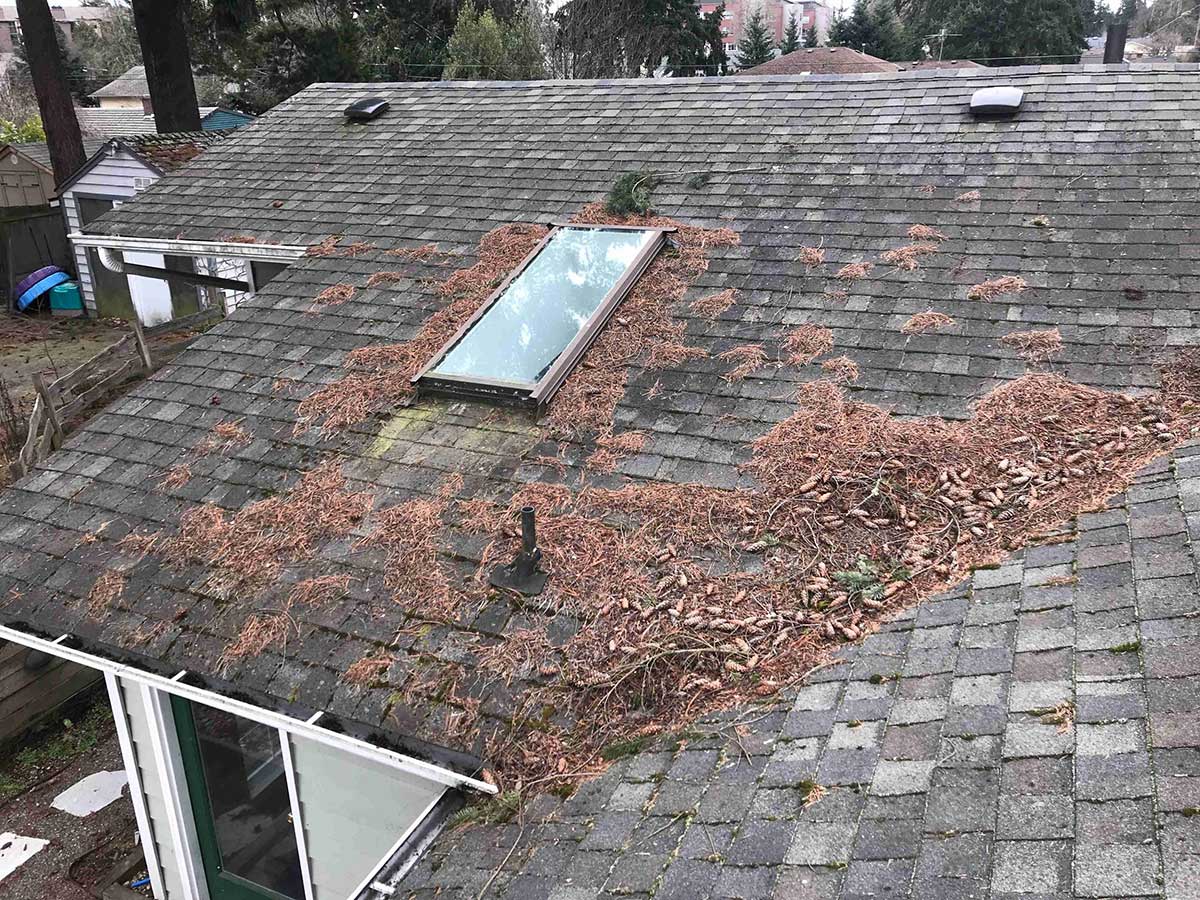
Check Your Skylights
Around the Northwest, architects, contractors, and homeowners are constantly searching for creative ways to increase the unique appearance of homes and commercial buildings. Skylights can be both fixed and opening.
Debris will accumulate behind the skylight during the year. It is important to keep this area clean during your shingle roof maintenance. Checking to make sure the skylight is not leaking or that the glass pane is not damaged. This would need to be done during the year depending on the debris accumulation in your area.
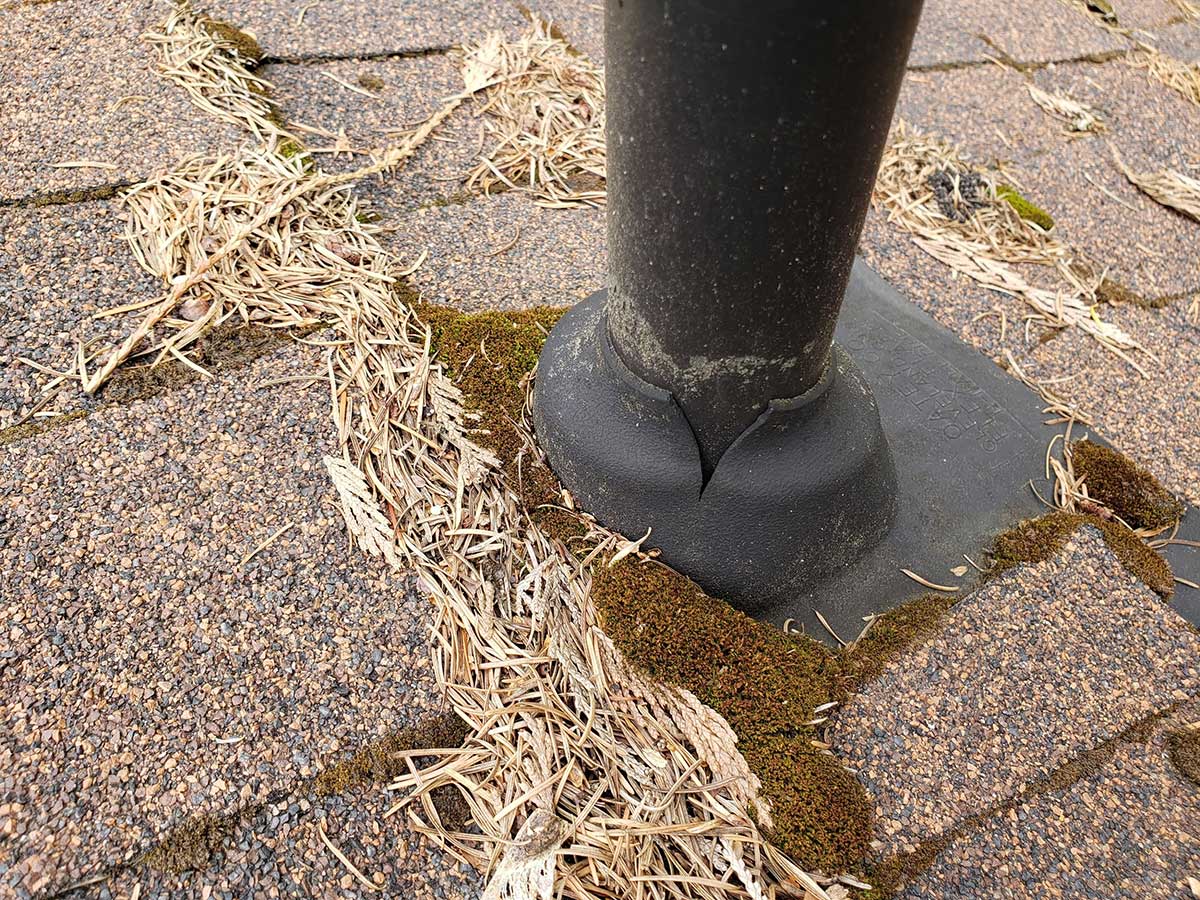
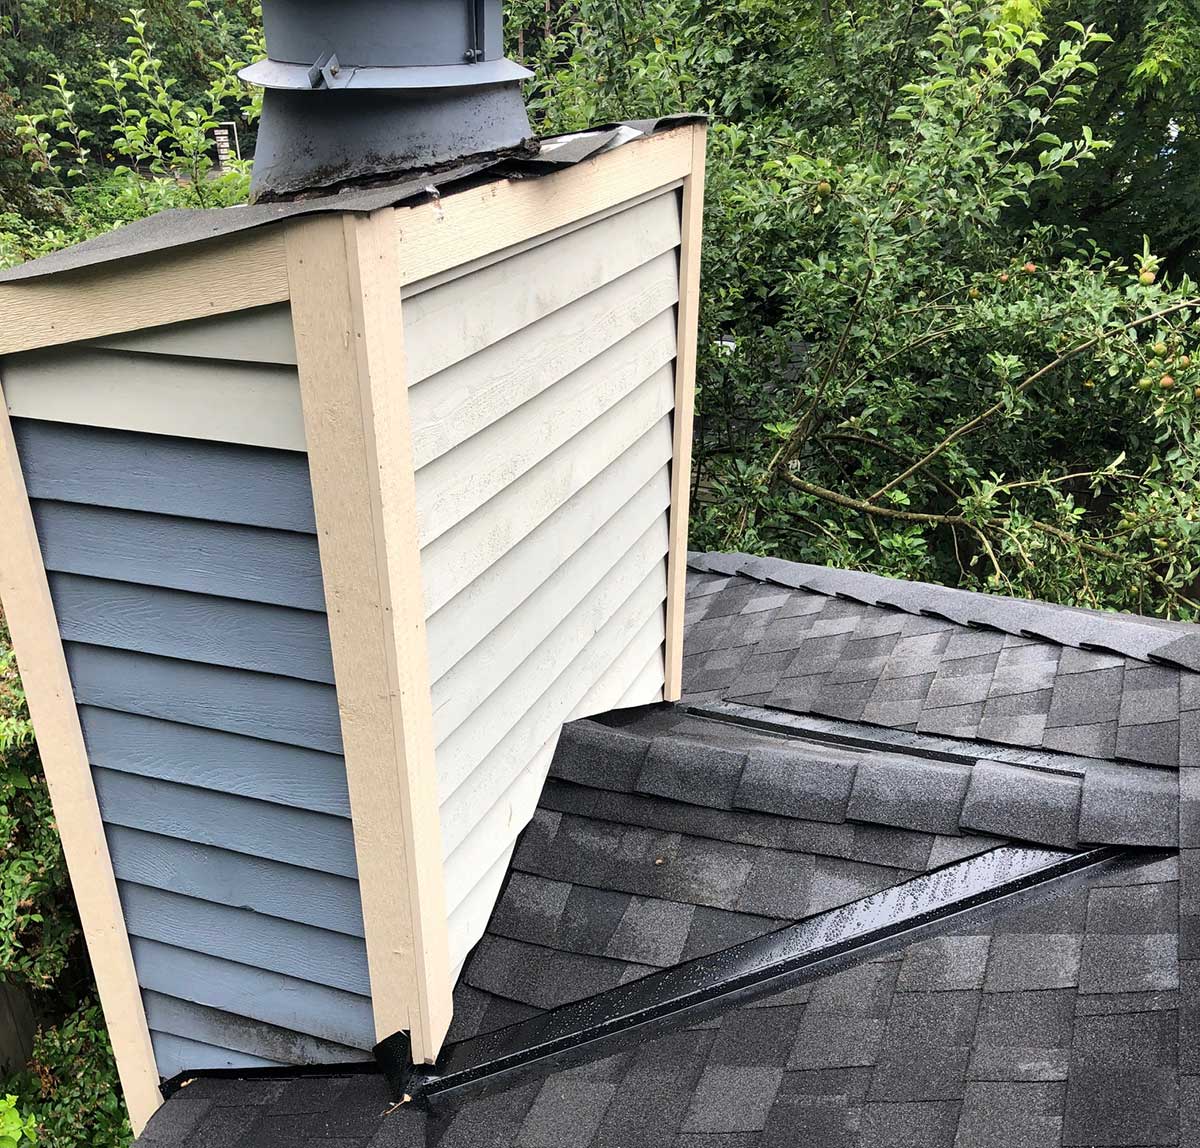
Check Your Pipes
Plumbing pipes are used to ventilate the plumbing system. All homes have these and are required for the plumbing system to operate properly. It is recommended to inspect cracks during your shingle roof maintenance in the boots that seal these to the roof.
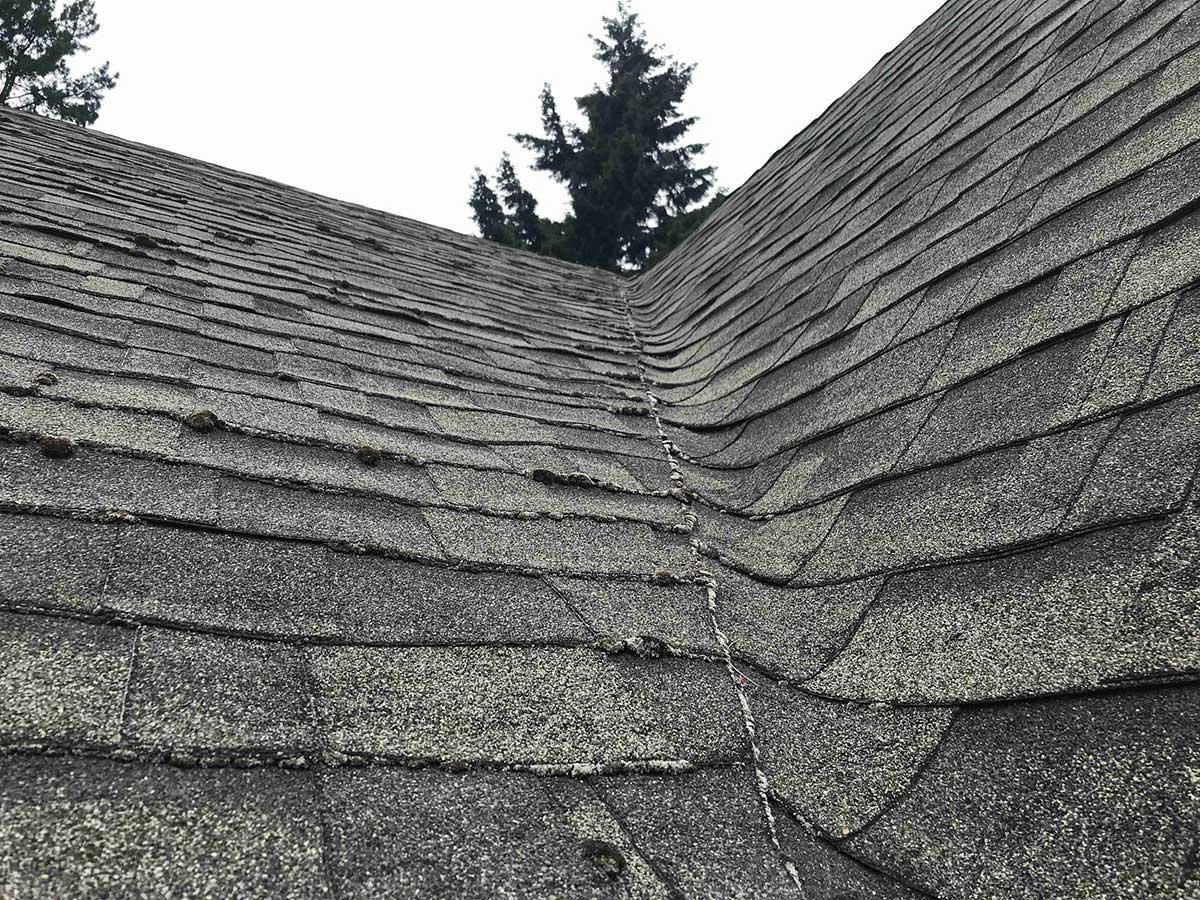
Valleys Need Extra Protection
When two roof faces meet, it is called a valley. Most of the water coming off of the roof will be traveling down the valley. We install valley metal in these areas to protect from leaking. Most roofs that are 10+ years and older do not have valley metal installed. They would weave the valleys with the shingles. This will cause the shingles to crack and cause leaks. Valleys need to be looked at very carefully during your shingle roof maintenance.
Did You Know?
Composite singles are one of the most popular and versatile types of roofing material. They do not split, crack or warp, and are environmentally friendly. They’re perfect for those who want a durable roof but do not want to spend too much time on upkeep.
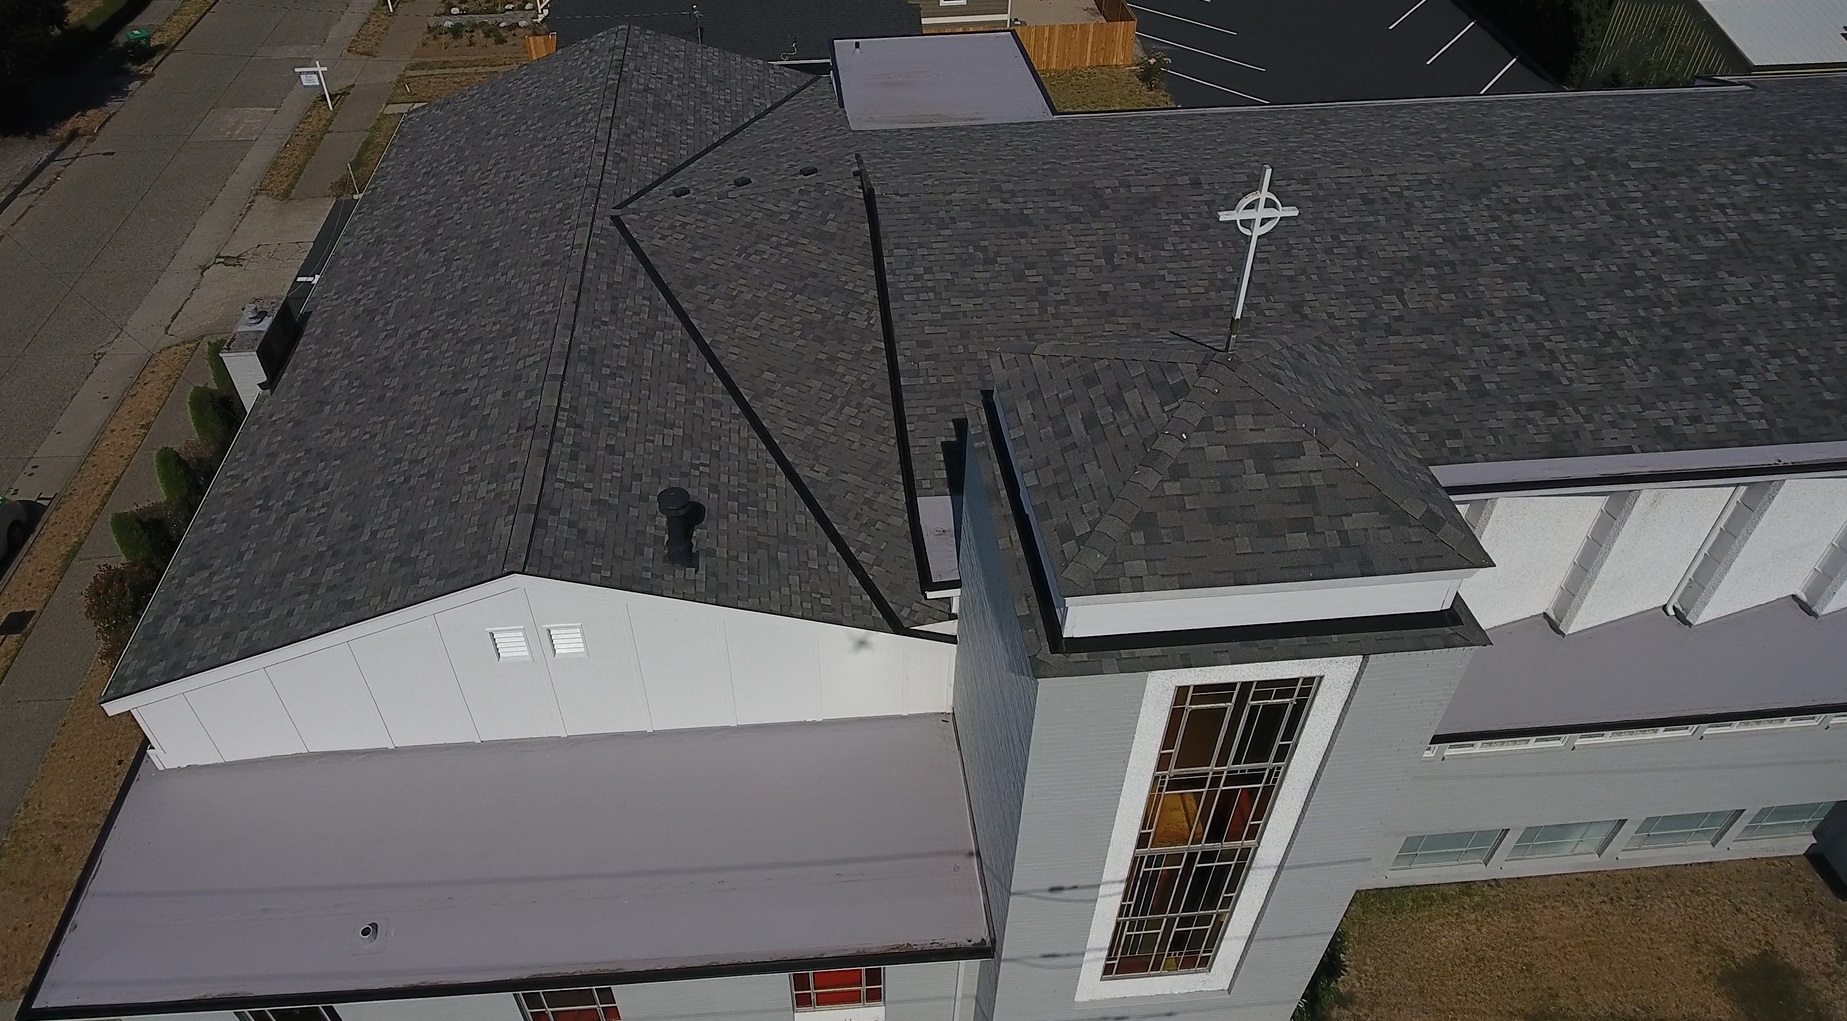
Step 4: Pay Extra Attention to your Chimney During your Shingle Roof Maintenance
After inspecting your roof, it’s time to move onto the chimney.
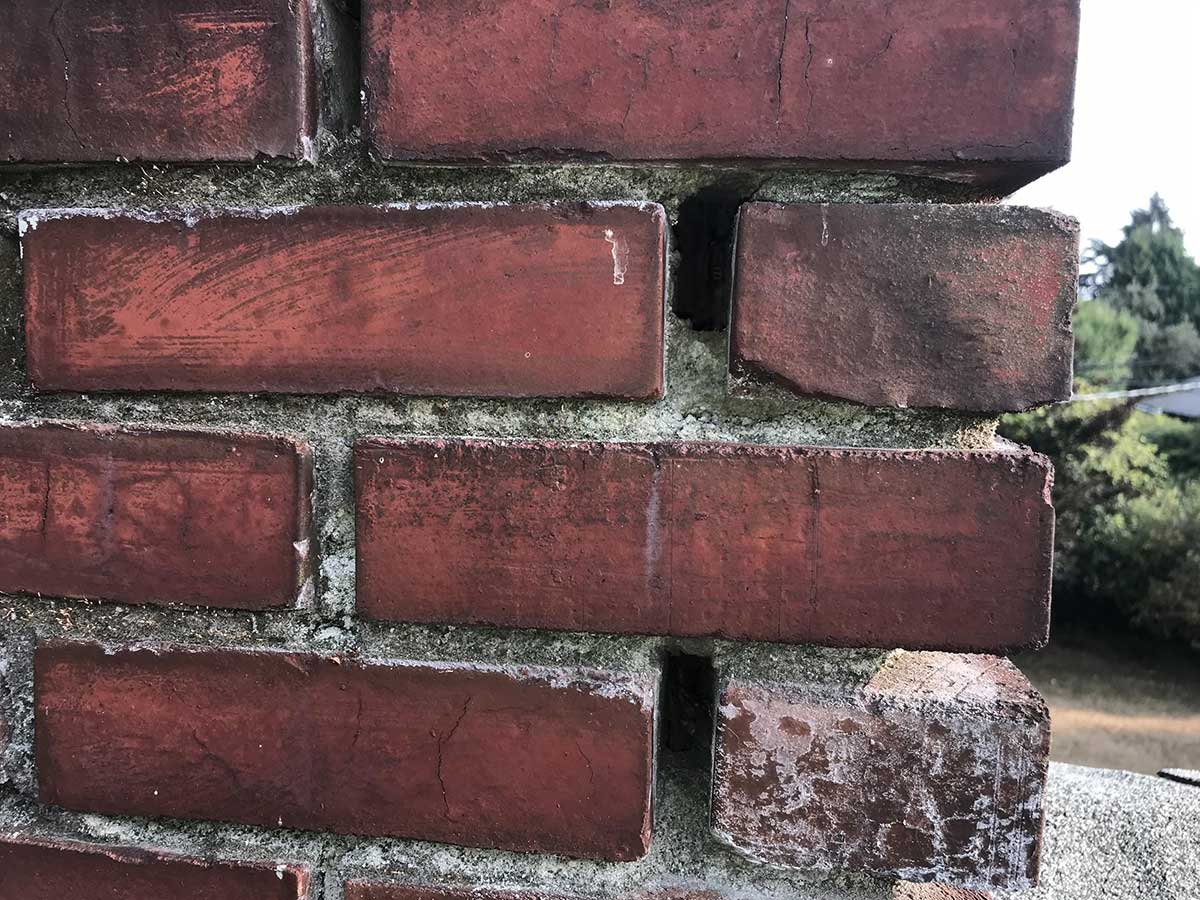
If your home has a chimney, it’s important to inspect any areas where the mortar (the substance that keeps bricks together) has begun to erode from weathering. If left unsupervised, deteriorated mortar can cause one or more bricks to fall out and cause major problems. Even a fall from a short distance onto your roof could cause sufficient damage!
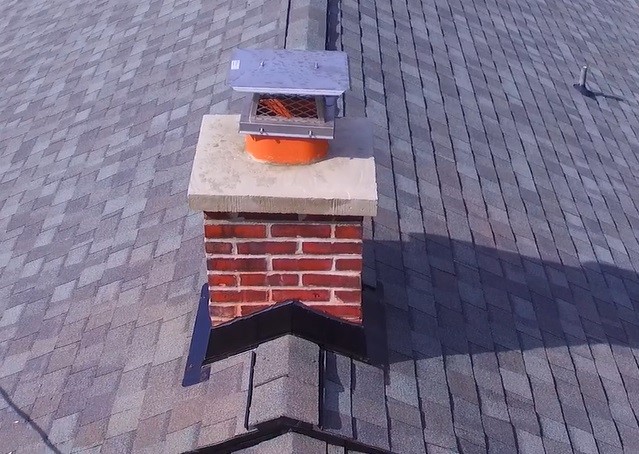
If your chimney is wider than usual and located on a downward slope, we recommend installing a chimney cricket. Shaped like a triangle, these crickets divert water around the base of the chimney instead of pooling on debris build up such as pine needles and leaves. By raising the middle of the roof in front of the chimney, we can redirect water around and away from your chimney flashing. Over the long run, chimney crickets prevent water accumulation and damage.

If your chimney is located on a downward slope, we recommend installing a chimney cricket. Shaped like a triangle, these crickets automatically make water seep down and away from your chimney. Over the long run, chimney crickets prevent water accumulation and damage.
Did You Know?
Dave, our Senior Certified Chimney Mason, recommends installing a chimney cricket if the width of your chimney is more than 32 inches.
Step 5: Put an End to Moss & Replace Missing or Damaged Shingles

Besides debris and rust, you’ll also want to remove any moss you find growing on your roof. Moss can be damaging to composite shingles: the moss roots can infiltrate between the shingles, causing them to slowly move apart and filter water between the newly-made gaps. Over time, this will lift up the shingles and cause leaks in the roof.
The best way to prevent moss growth on roofs is to use a product like Moss B Ware every six months when conducting your shingle roof maintenance. Sprinkle it on the roof a day before it rains on a non-windy day. The rain will wash the product down the roof and dry up the moss. Afterward, simply sweep off the moss and relax!
If there is no rain in the forecast, the debris can be removed by hand or with the blower. You always want to use the blower from the top down. Using the blower from the bottom up will lift the shingles and cause damage.
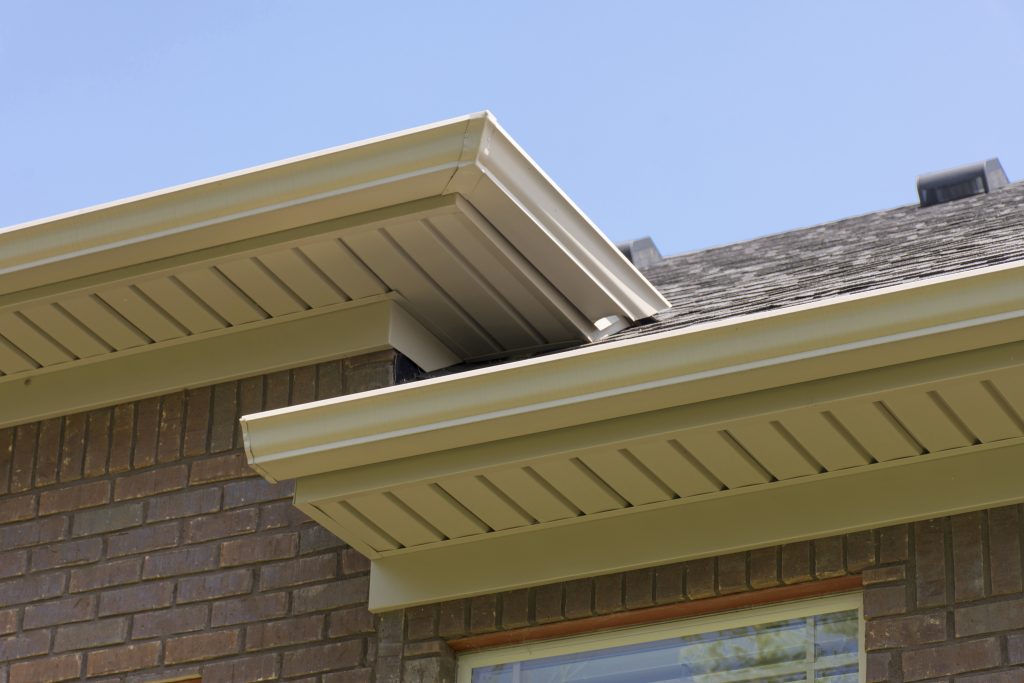
▲ Back to MenuStep 6: Keep those Gutters Clean and Debris-Free as part of your Shingle Roof Maintenance
While you’re doing your periodic roof inspection, don’t forget to take a peek at the gutters as well. Although it might seem like an extra step, the gutters actually play an integral role in the overall health of your roof!
Here are a few simple tips on how to inspect your gutters and make sure they’re properly functioning:
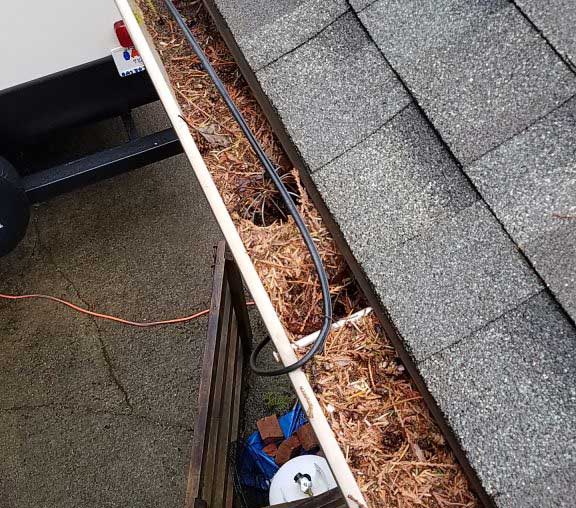
Flush out the debris
When your gutters are clogged with leaves, debris, and other junk, water can’t flow freely and ends up accumulating in the gutters. If left unattended, the water can make its way under the roof shingles, cause damage, and shorten the life of your roof. Don’t forget to regularly inspect and clean out those gutters! The easiest way to clean open gutters is by hand or with a blower. Get to a safe level where you can scoop out the garbage by hand (we recommend using a ladder) or with a blower (standing on the roof).
Examine gutter spikes
One of the most common ways of installing gutters is through the use of spikes. It’s a good idea to check and make sure that they are still in place and that there is no visible damage. If left unattended, gaps will form and cause noticeable water damage to your roof. This can manifest in the form of gaps in the ceiling, wet spots, or damaged roof tiles.
Check for rust and gutter health
Gutters that have been improperly installed or have been through many seasons will start to pull away from your home. Over time, this will put the lower areas of your roof at risk for damage in stormy or windy conditions.

If you are in the process of getting a new roof (or gutter), it is recommended to ask your roof company to install a screen on the gutters, which is also known as a gutter guard. These are mesh-like covers that go over your gutters to protect it from dirt, leaves, and other gutter blockers.
▲ Back to MenuStep 7: Head to the Attic During your Shingle Roof Maintenance
Once you’ve given your roof itself a thorough cleaning and inspection, it’s time to head up to the attic and inspect the situation from the other side.
While it’s not always possible to spot leaks while you’re standing on the roof itself, once you’re in the attic, it becomes painfully apparent. Here, you’re looking for water stains and other signs of damage - see the list below for further information.
We recommend inspecting your attic during a sunny day, as you’ll be able to easily see holes and other defects during your shingle roof maintenance. Likewise, be sure to wear protective clothing and a ventilator mask in case there are hidden toxins in the air.
Here are some of the things you should look for during your attic inspection:
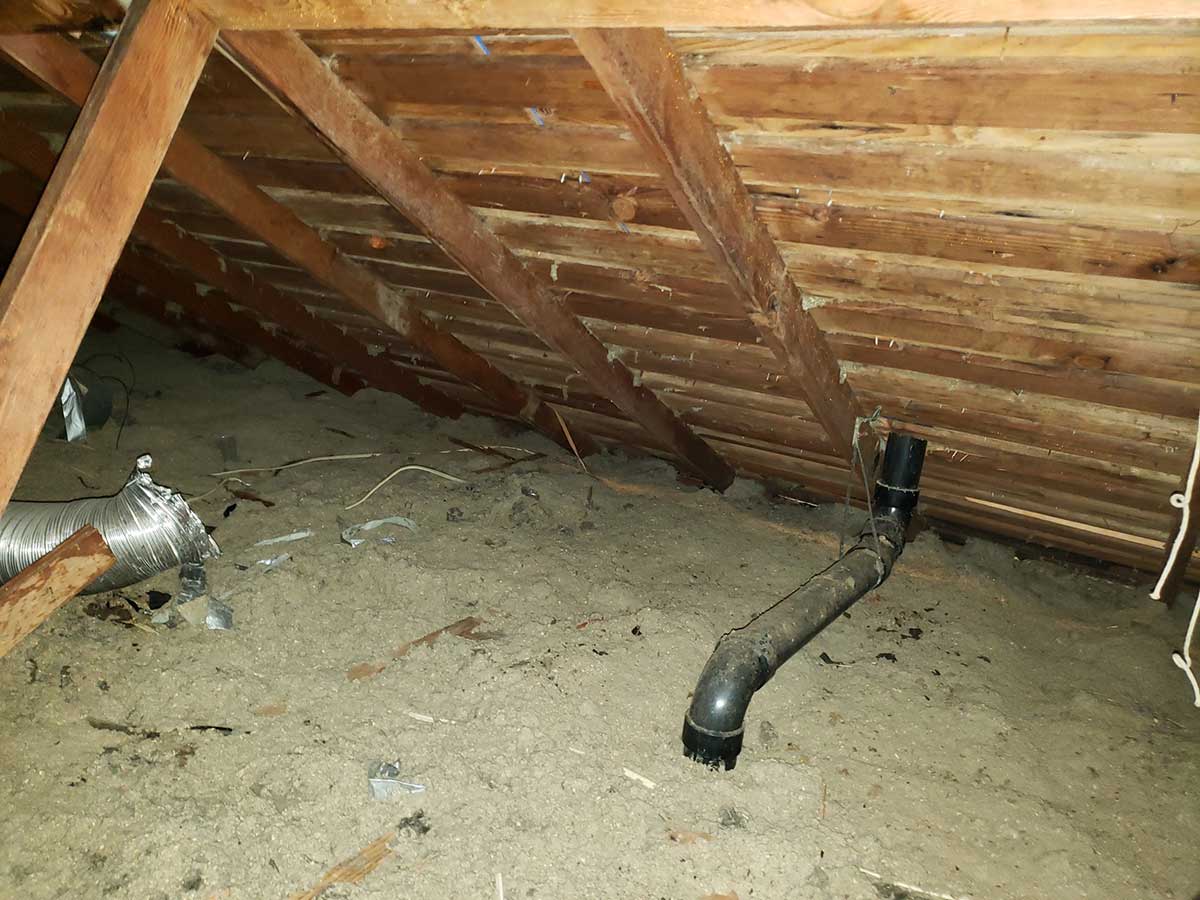
Look for Poor Connections
It is important to inspect that the duct work is connected securely. Fan vents, plumbing stacks, oven pipes, furnace ducts, etc. If these connections are loose moisture will be blown into the attic space and can cause mold, mildew, and wood damage.
Check Fasteners and Nails for Rust - Maybe a Leak
It is important to check the framing and shingle nails. Check to make sure they are not rusty. If they are there might be a leak or the attic space has too much moisture.
Make Sure Nails are not Broken
If nails are broken they will not be holding the shingles correctly and they will be more likely to be damaged from wind.
Look for Wildlife Damage
This kind of damage includes tears, droppings, scratches, chewed food, feces, trampled insulation, ripped ducts, and more.
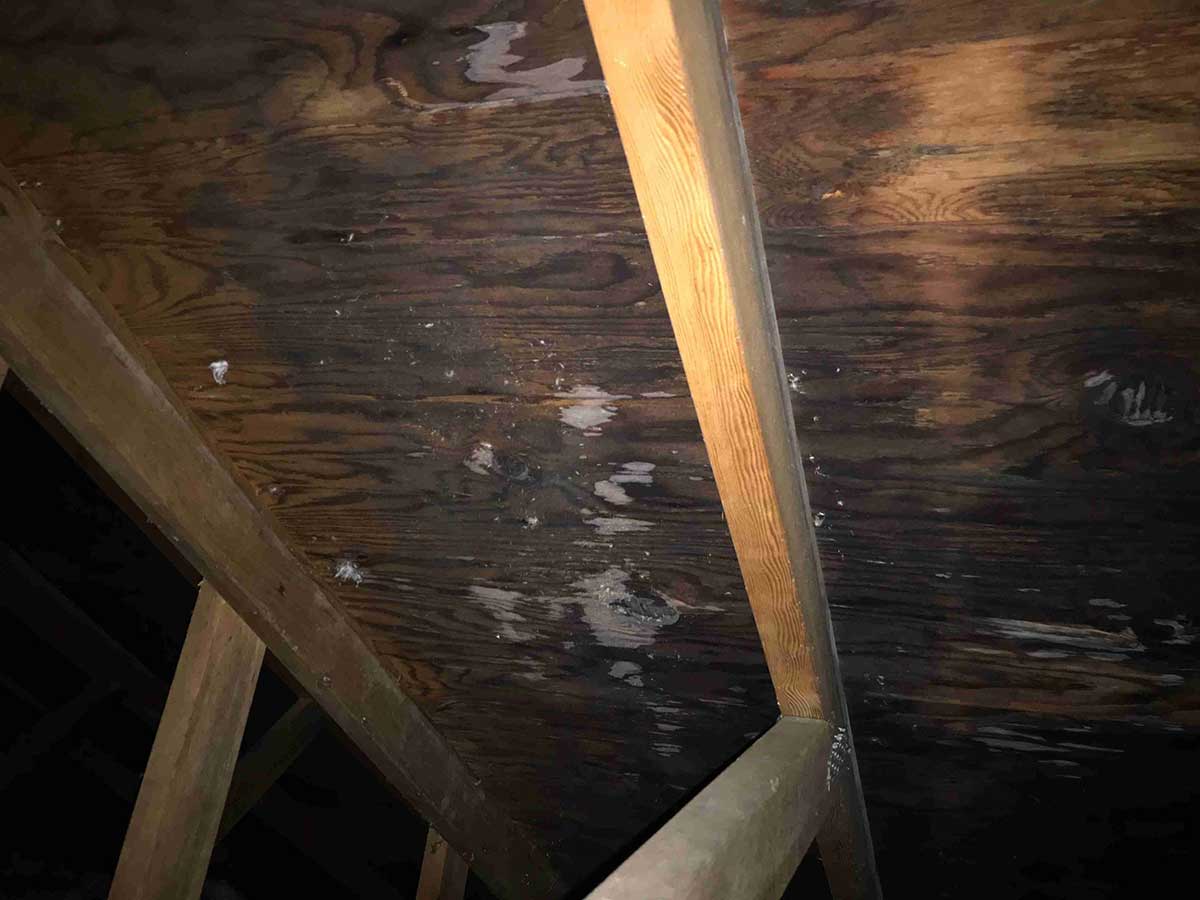
Check for Water Damage, Leaks and Holes
Long-term leakage often encourages mold growth (see below) and can cause severe decay. You can also use a moisture meter to check stains for elevated moisture content - anything below 20% is optimal.
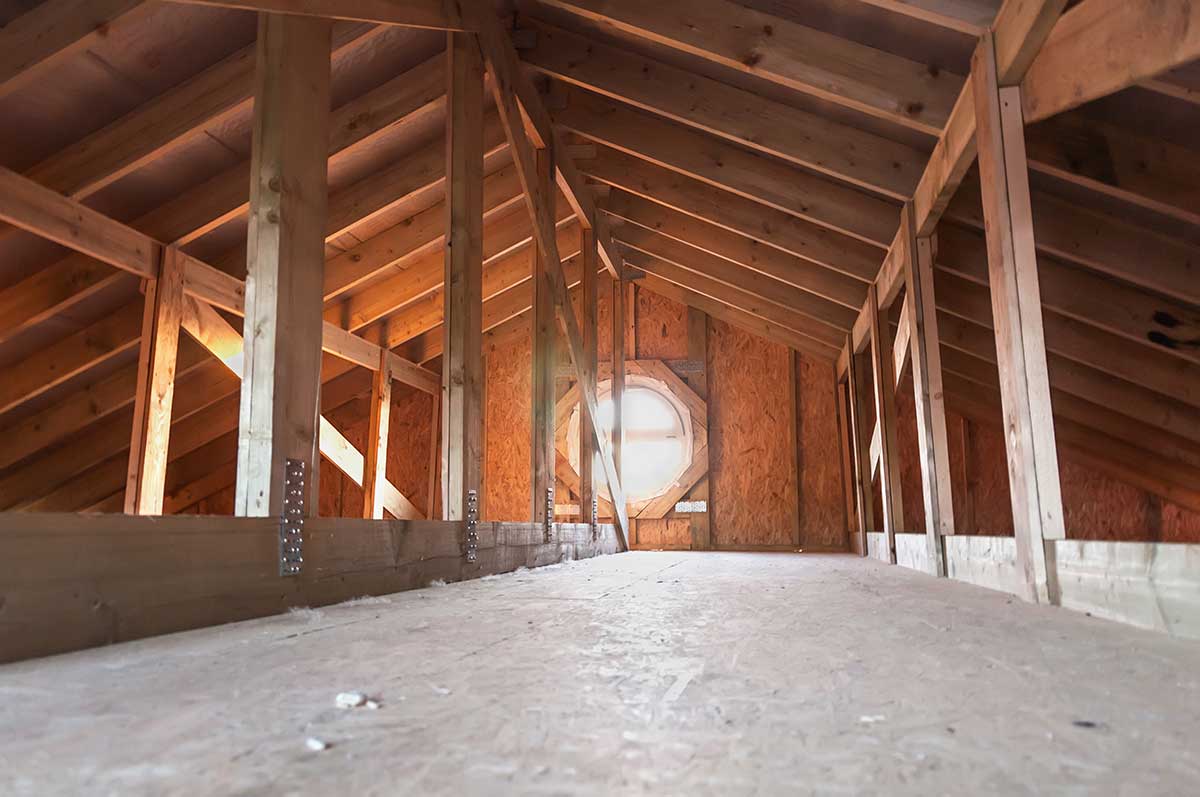
Check Your Insulation & Ventilation
From a shingle roof maintenance perspective, the best thing you can do in your attic is to make sure it’s well insulated. If your attic is poorly insulated, an abundance of heat will escape through it. In the winter, this will cause snow accumulations to melt and refreeze repeatedly, which can cause significant damage to your roof structure.
Another thing is to ensure that the insulation isn't blocking the intake vents. Blown in insulation will work its way down and plug the vents, which will eventually block the air from entering the attic space. Ventilation needs to have an intake and an exhaust.
Make Sure there is No Mold or Mildew
These are two of the biggest attic “pests” in the state of Washington, where it’s moist year round. Having enough insulation (both intake and exhaust) is also very important in the prevention of mold and mildew. Rodents and insects can make their way into the attic through vents and open spots in the roof. It’s important to hire a proper roof specialist, who will make sure that ventilation and insulation are up to code.
▲ Back to MenuStep 8: Call for Help if you need it
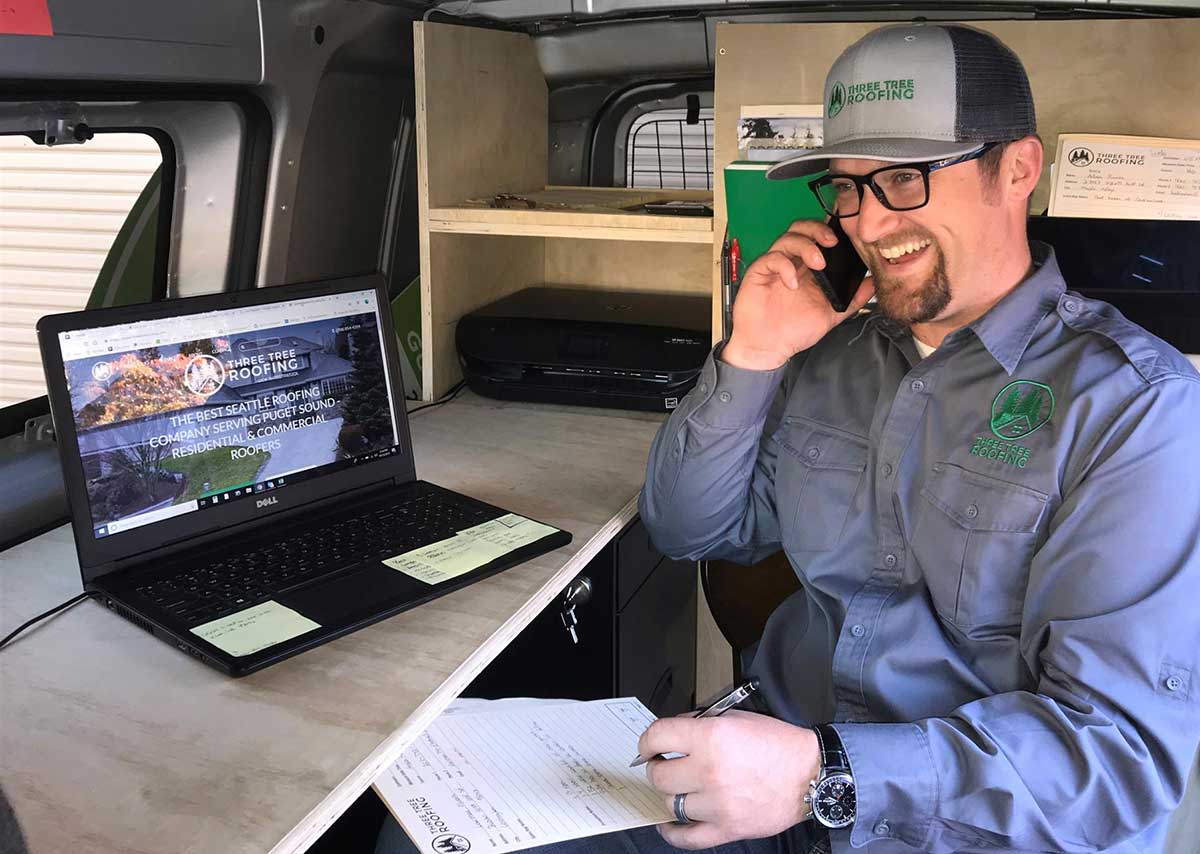
As important as these shingle roof maintenance tips are, nothing can replace a professional set of eyes, which is why we recommend having your roof inspected by a professional at least once a year. Besides peace of mind, a professional roof inspector can help you avoid costly problems, make an insurance claim easier to file, and provide information that will greatly extend the life of your roof.
If you think you need to replace your roof and you are in the Seattle area, please call us contact Three Tree Roofing online or by phone at (206) 854-4204.
▲ Back to MenuStep 9: Knowing your Warranty to Maximize your Shingle Roof Maintenance
One of the most important documents for your roof is the warranty. These come in a variety of lengths (such as 30- or 50-years) and from the manufacturer and/or contractor. The latter is especially important, because, in case of any damage, it will tell you who you need to contact in order to resolve the problem. Sometimes you will have a warranty from your contractor and an additional warranty from the roofing material manufacturer. Make sure to keep a copy and store your warranty in a safe place.
Three Tree Roofing Workmanship Warranty
Three Tree Roofing warranties our workmanship for as long as you own your home.
Certainteed Composite Shingle Warranty
We often use Certainteed Composite Shingles. Each installation has a warranty on their roofing materials. In addition, we are certified Certainteed roofers, which gives additional Certainteed guarantees on our workmanship which is supported by Certainteed beyond the life of our contract with the homeowners. See the details of that warranty here.
▲ Back to Menu
Step 10: Supplies Needed for Shingle Roof Maintenance
The following is a list of supplies that you may need to purchase in order to safely for your shingle roof maintenance.
- Extension Ladder
- Gloves
- Safety Glasses or Goggles (depends on if you need glasses or not)
- Mask or Ventilator (depends on how what is in your attic)
- Protective Suit for Attic
- Roofing System (Safety Harness, Rope and Anchor)
- Moss-B-Ware
- Push Broom
- Electric Hand Blower
- Garbage Bags
Here are some recommendations for each of the items in the supply list:
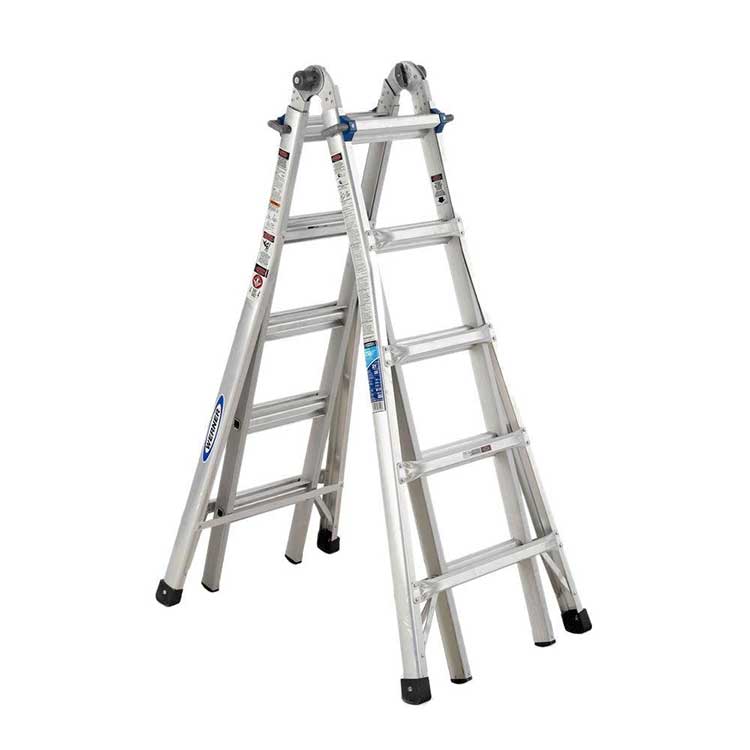
Extension Ladder
Home Depot
Theses ladders work great too. These are what we use to access most roofs. This ladder works as a step ladder and an extension ladder.

Gloves
Home Depot
Shingles are like sandpaper and do not feel good, so make sure to have a good pair of gloves available.

Safety Glasses
Home Depot
These are great eye protection if you do not wear corrective eye glasses.

Safety Goggles
Home Depot
If you do wear corrective eye glasses, you will need protective goggles instead of protective glasses.
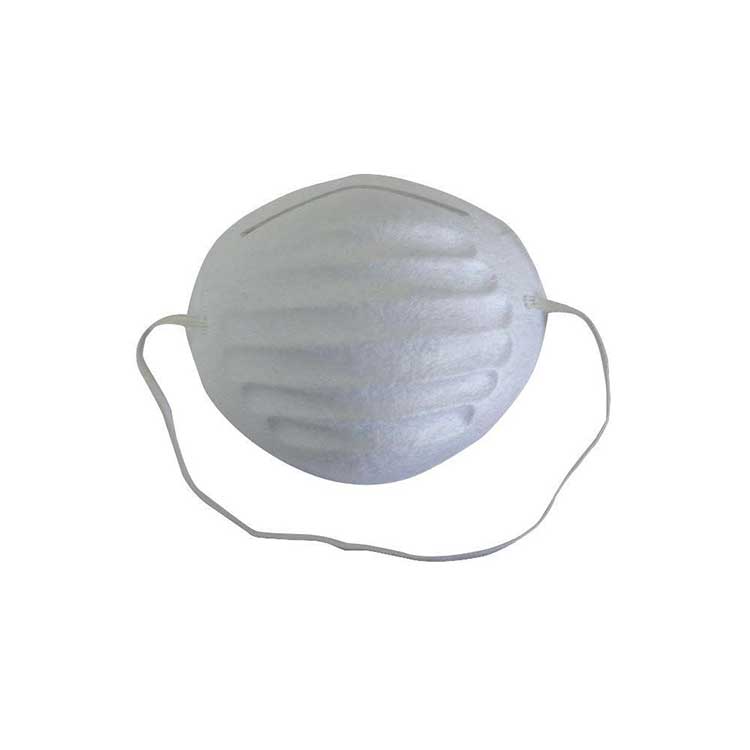
Mask
Home Depot
If your attic is clean and dust does not bother you, a lighter weight mask should be fine for going in your attic.
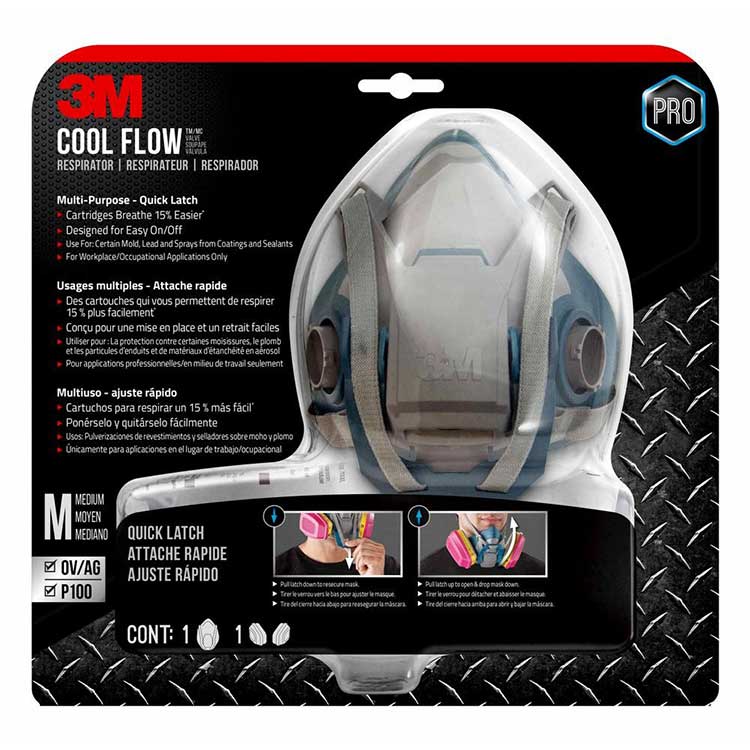
Ventilator
Home Depot
We recommend a Mask with a Ventilator for going in your attic.
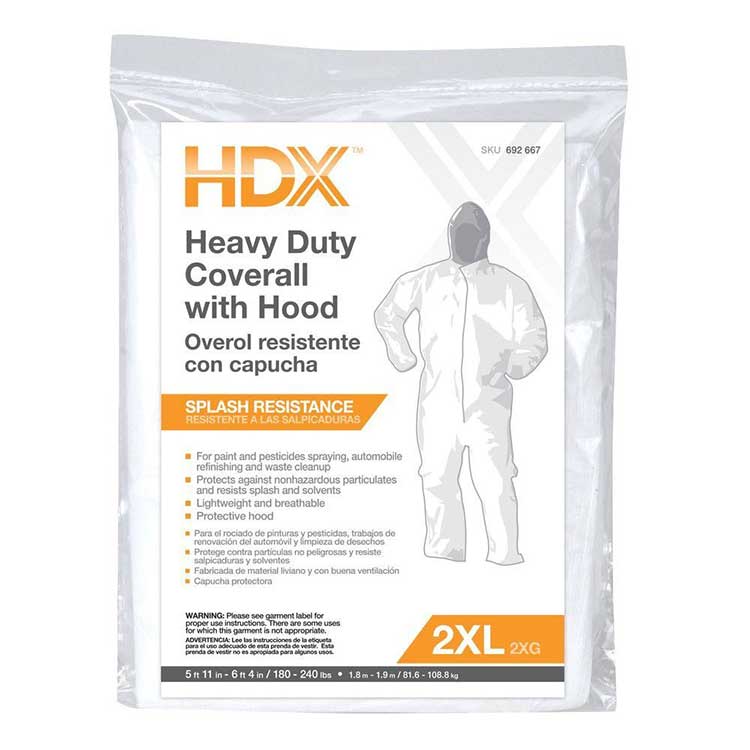
Protective Suit for Attic
Home Depot
We recommend a Protective Suit for going in your attic.
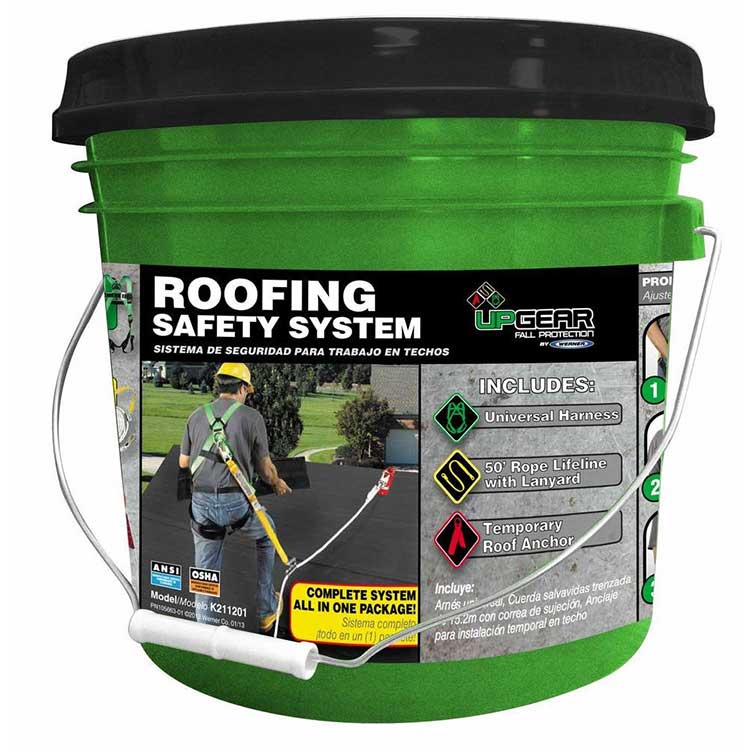
Roofing Safety System
Home Depot
That safety harness bucket is great. We (Three Tree Roofing) install and leave safety anchors in the roof when we are done with a roof so you can safely maintain your roof once we are done.
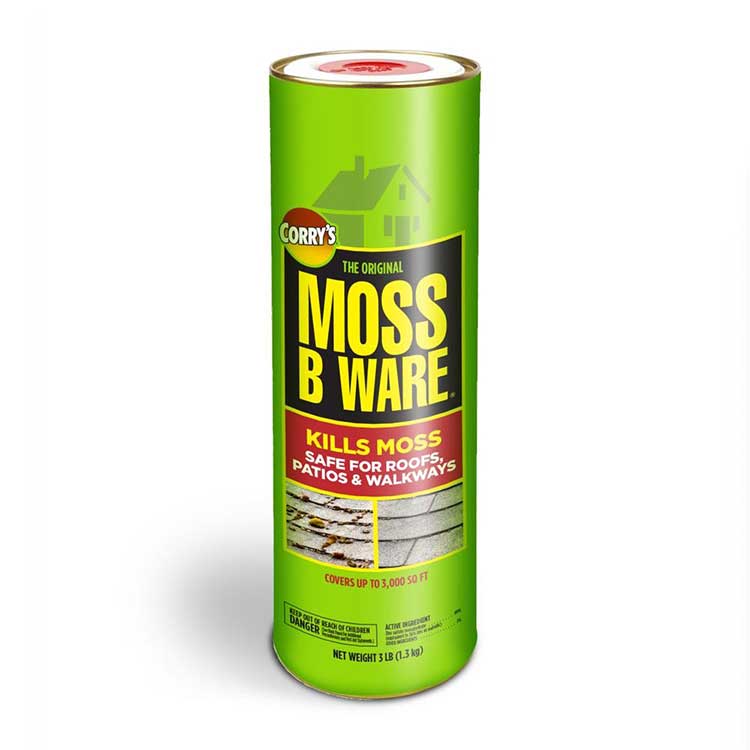
Moss-B-Ware for Roofs and Walks Granules
Home Depot
If you have a problem with Moss on your roof, Moss-B-Ware is going to need to be on your supply list.
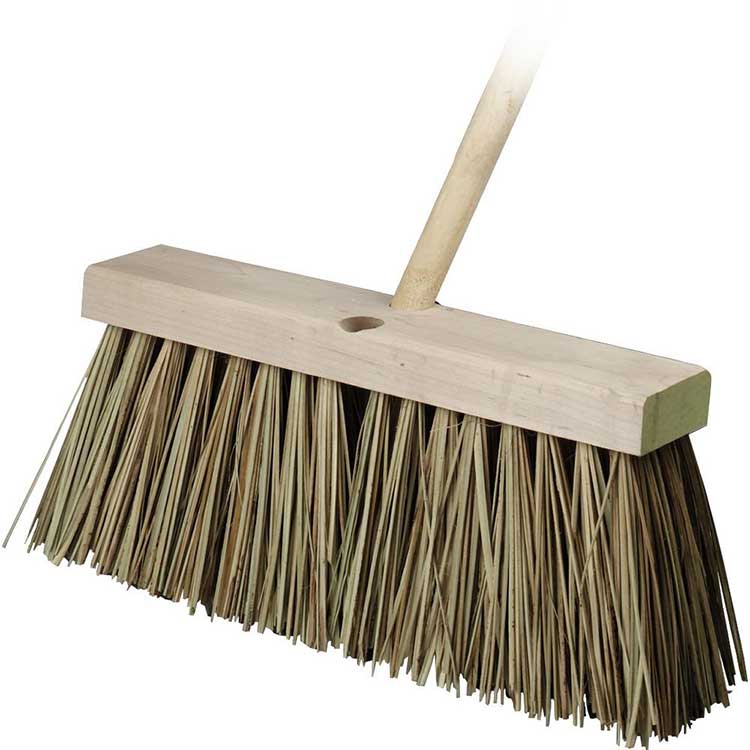
Push Broom with Palmyra Bristles
Home Depot
This is a good broom to remove moss. Moss is the biggest problem we have in the Northwest with our wet climate. Moss growth looks bad and causes shingle damage that causes the roof to deteriorate faster.
Electric Handheld Leaf Blower
Home Depot
This is a very inexpensive blower. Gas and battery operated ones also work great but cleaning tools don't need to break the bank to work properly.
Garbage Bags
Home Depot
You will want “contractor bags”. These bags are stronger, bigger bags that you can trust not to break or fill up fast while you are up on your roof.
Downloadable Resources
Here are some printable resources to help you manage maintaining your roof.
▲ Back to Menu