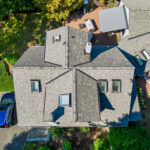
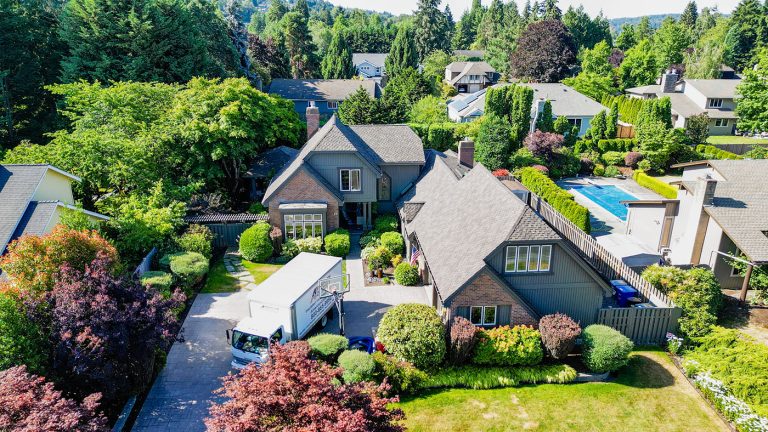
A Consistent Process: The Three Tree Roofing Method
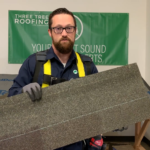
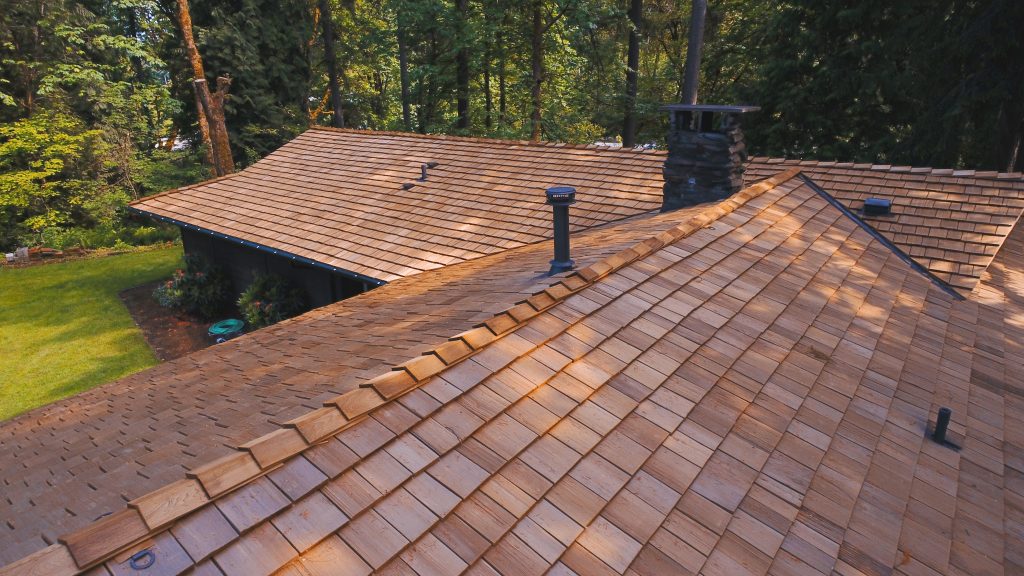
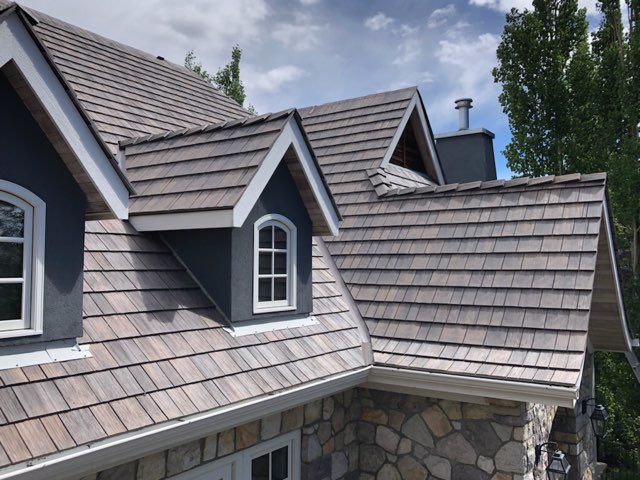
Natural cedar shake roofing is the coined roofing aesthetic of the Pacific Northwest. This rustic look makes for amazing curb appeal and comes with an outstanding 50-year CCA treated warranty. We only install the best cedar roofing material around, and everything is sourced locally. It is extremely important to have dedicated cedar shake crews installing these roofs because of the attention to detail that is required. Let’s dive into how our master craftsman at Three Tree Roofing install Cedar Shakes.
We hope you enjoy this article. If you are in Seattle or the Puget Sound Area and have question about your roof, please contact us online or call us at (206) 312-7663 (ROOF). Now on with the show!
Step 1: Perimeter Metals
Like most other roofs that we install, the first step is to install the perimeter edge metals. This piece of metal provides another layer of protection against water damage. As rainwater runs down the finished roof, this piece of metal protects the edges of the plywood as water runs into the gutters.
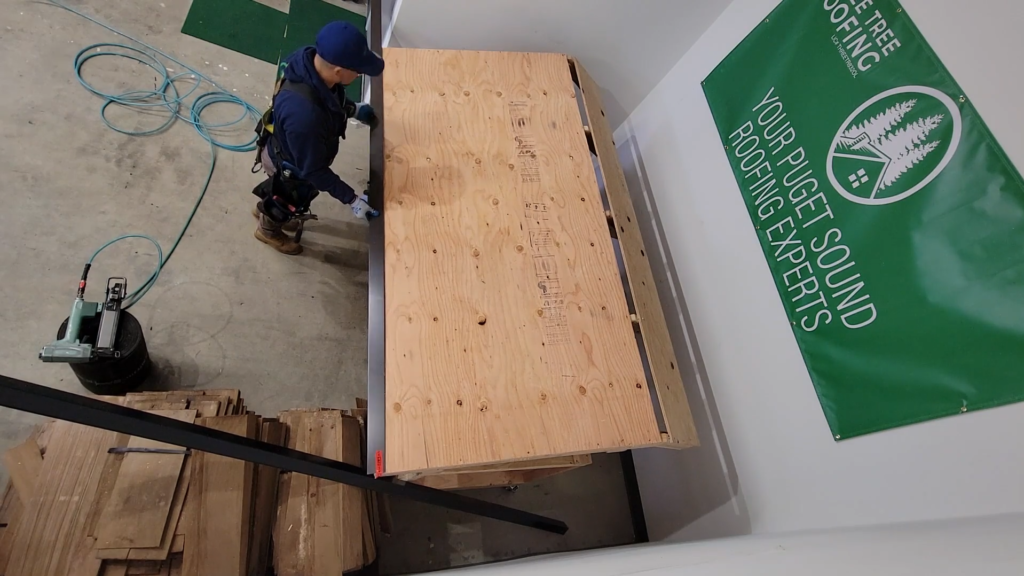
Three Tree Roofing Roofer installing perimeter edge metals on a cedar shake demo roof. Perimeter edge metals help seal the wood deck preventing the wood from getting wet. Certain perimeter edge metals are used to redirect water to the drainage gutters.
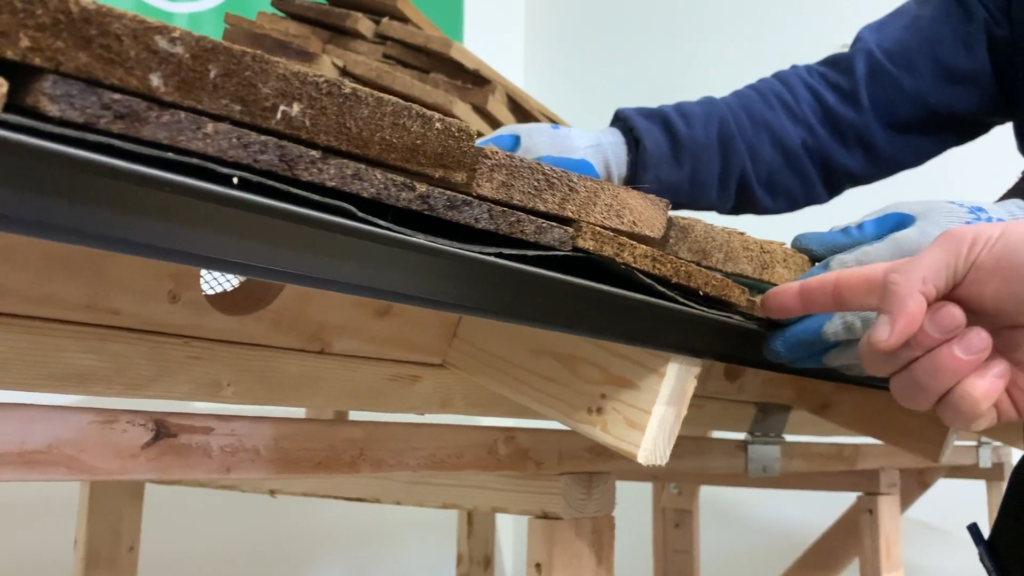
Step 2: Felt Underlayment
Once we have installed the perimeter edge metals, it is time to roll out the underlayment. We measure each piece of underlayment to account for exposure, because we install the top of the cedar shakes underneath each layer. This helps keep the roofing system watertight and protect the plywood, allowing the roof to live its full lifespan.

Underlayment is a waterproof layer under the roofing materials that provides extra protection.
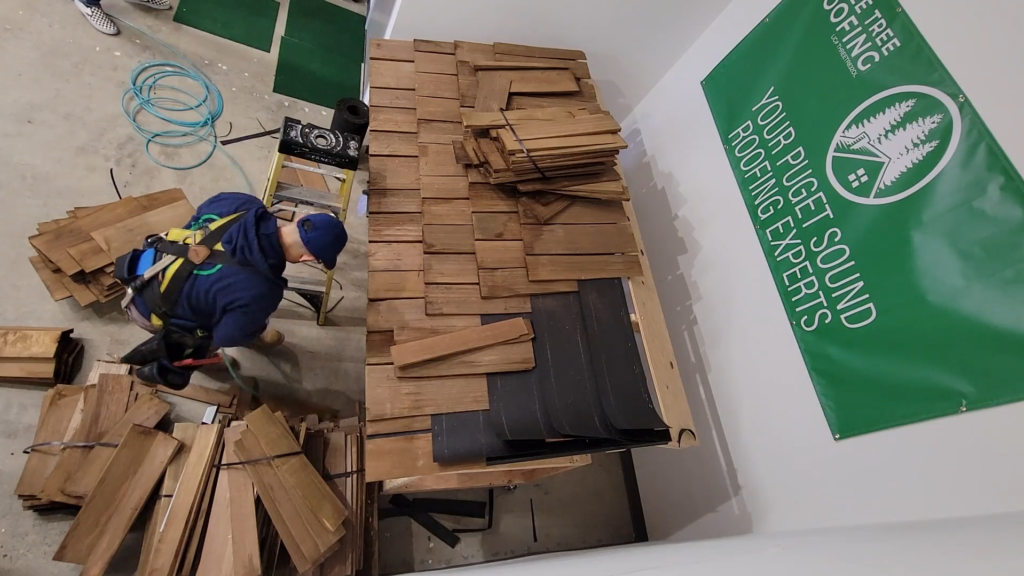
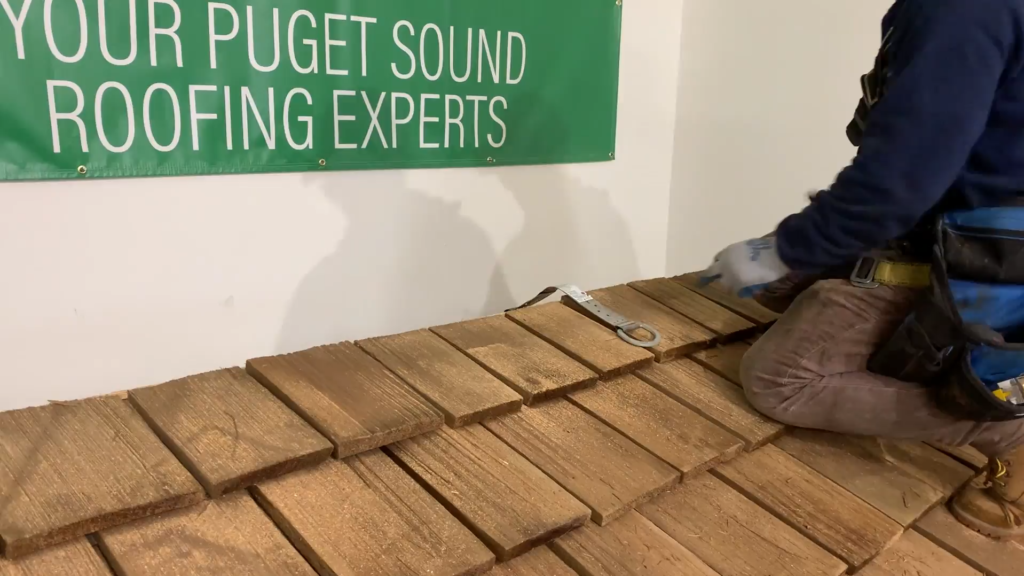
Step 3: Cedar Shake Starter Installation
Cedar Shake Starter Shingles are a little smaller than the rest of the Cedar that we will install on the roof. This is installed at the edge by the gutters, so the rest of the cedar shingles that get installed on top will all be the same height.
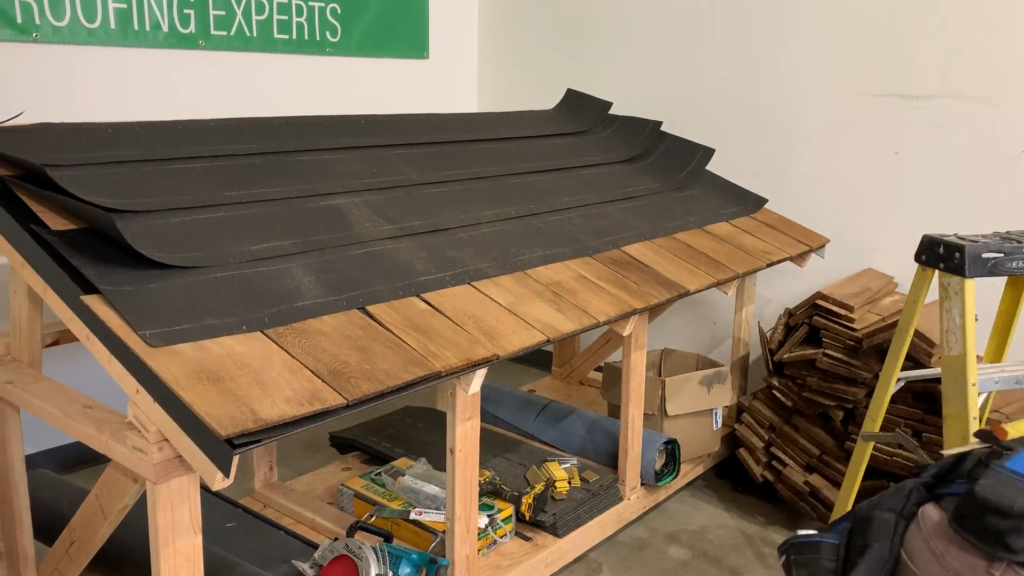
Photo of Three Tree Roofing installing Cedar Shake Starter Shingles.
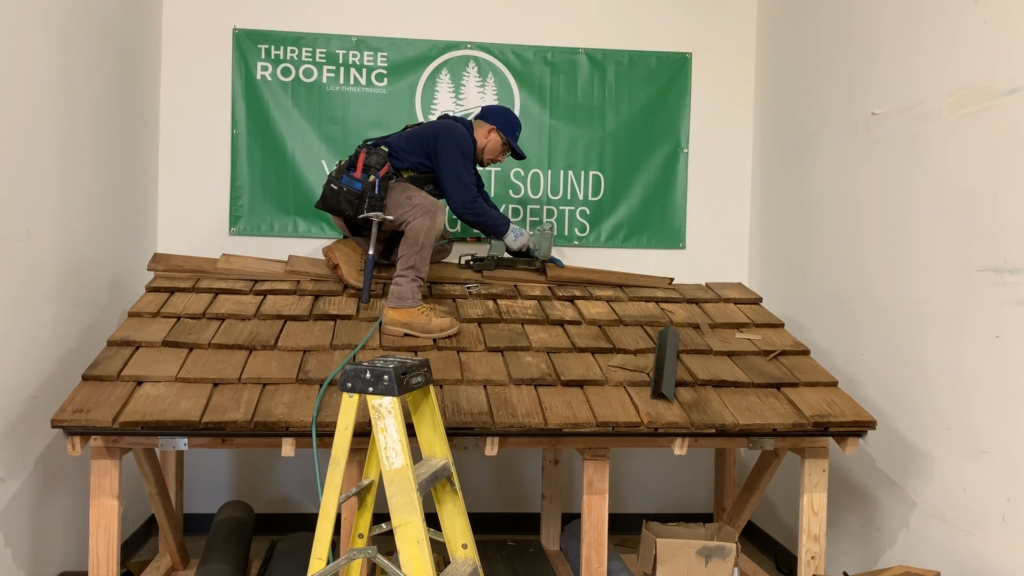
Step 4: Cedar Shake Shingle Installation
Attention to detail is extremely important when installing the rest of the cedar shake shingles. With every shingle, we make sure that the right piece is going in the right spot. We cannot simply grab a piece and install it, we have to make sure that the right piece lines up with the rest of the shingles we are installing. All of the shingles’ keyways must line up perfectly, so there are no gaps exposed in the roof leading down to the underlayment.
Building a Cedar Shake roof is like putting together a puzzle. Each new shake shingle needs to be placed based on the rows below.
The Cedar Shake Shingles need to be arranged so that shingles above overlap seams where the proceeding shingles come together.
As we install the last row of cedar shingles, we snap a chalk line to make sure the shingles are lined up perfectly to allow for the same exposure. Once this final row is installed, we trim the backs of the cedar shingles off before installing the ridge caps.
Three Tree Roofing always installs a safety anchor before we are done with the roof. We use safety anchors when we are working on the roof, but want to make sure anyone working on the roof in the future can do so in a way that is safe.
Step 5: Ridge Cap Installation
The ridge cap that we order and install is also made by the manufacturer. This specific ridge cap is cut and nailed together at the factory so we are able to install it directly to the ridge of the roof. This is a long term ridge solution that will last the lifetime of the roof.
The Ridge Cap we install is prepped at the factory. The purpose of this is to ensure the ridge cap lasts as long as the roof.
Final Words
Thank you for following along with our Cedar Shake installation process. We at Three Tree Roofing use only the best, locally sourced wood shingles for our cedar shake installations, and practice factory certified installation methods to uphold the strongest warranty in the industry.
We hope this article was educational and provided a clear view of what you can expect when Three Tree Roofing replaces your roof. If you enjoyed this article, check out our other Roofing 101 articles:
- Roofing 101: Three Tree Roofing - Roof Installation Overview
- Roofing 101: Composite Asphalt Shingle Roof Installation - CertainTeed Landmark
- Roofing 101: Composite Asphalt Shingle Roof Installation - CertainTeed Presidential
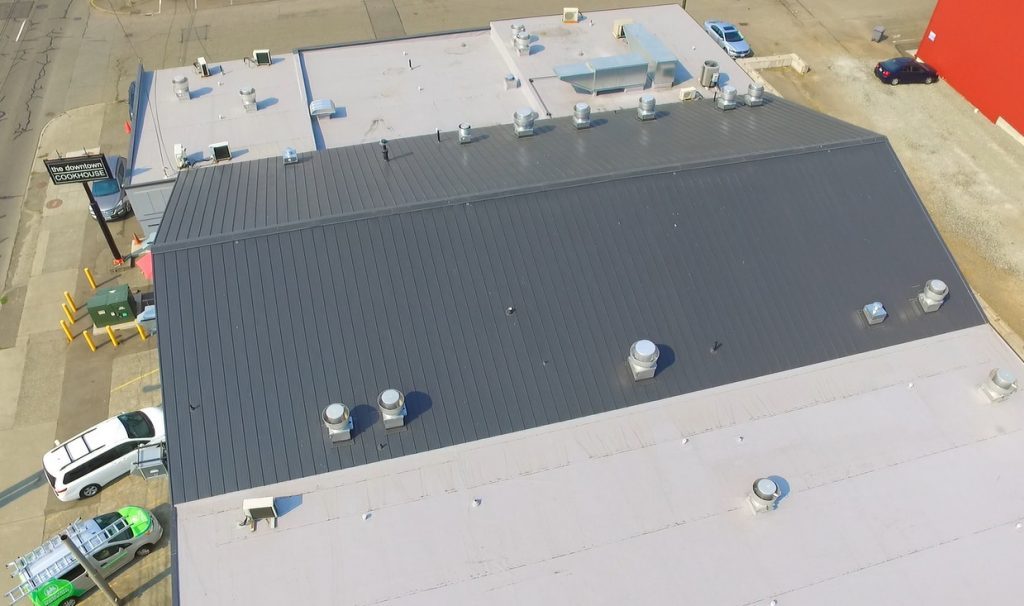
- Roofing 101: Metal Roof Installation - Nu Ray NRM-1000 Standing Seam Metal
- Roofing 101: Cedar Shake Shingle Roof Installation - Hand Split Cedar Shake
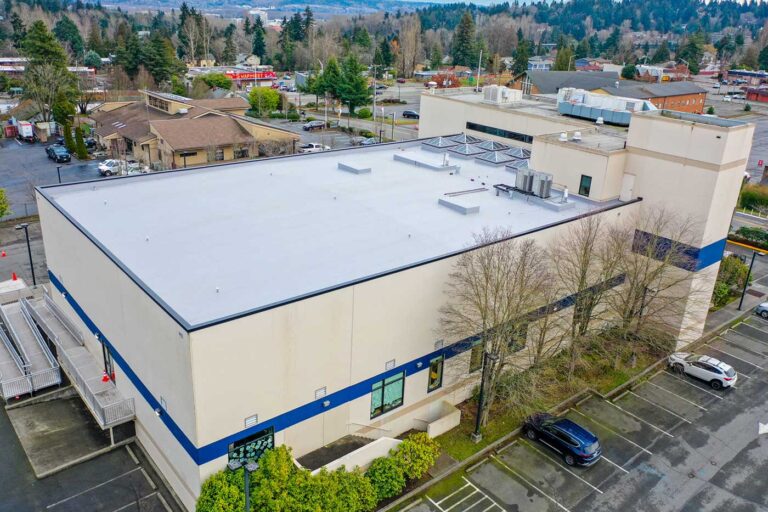
- Roofing 101: Flat Roof Installation - Weatherbond TPO Flat Roofing Installation
If you are a customer and scheduled for a new roof, we look forward to seeing you, installing your new roof, and you seeing your home with it's new roof. If you are in Seattle or the Puget Sound Area and in need of a new roof, we hope you consider us for your roof replacement. For a no pressure free estimate contact us online or call us at (206) 312-7663 (ROOF).