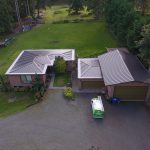
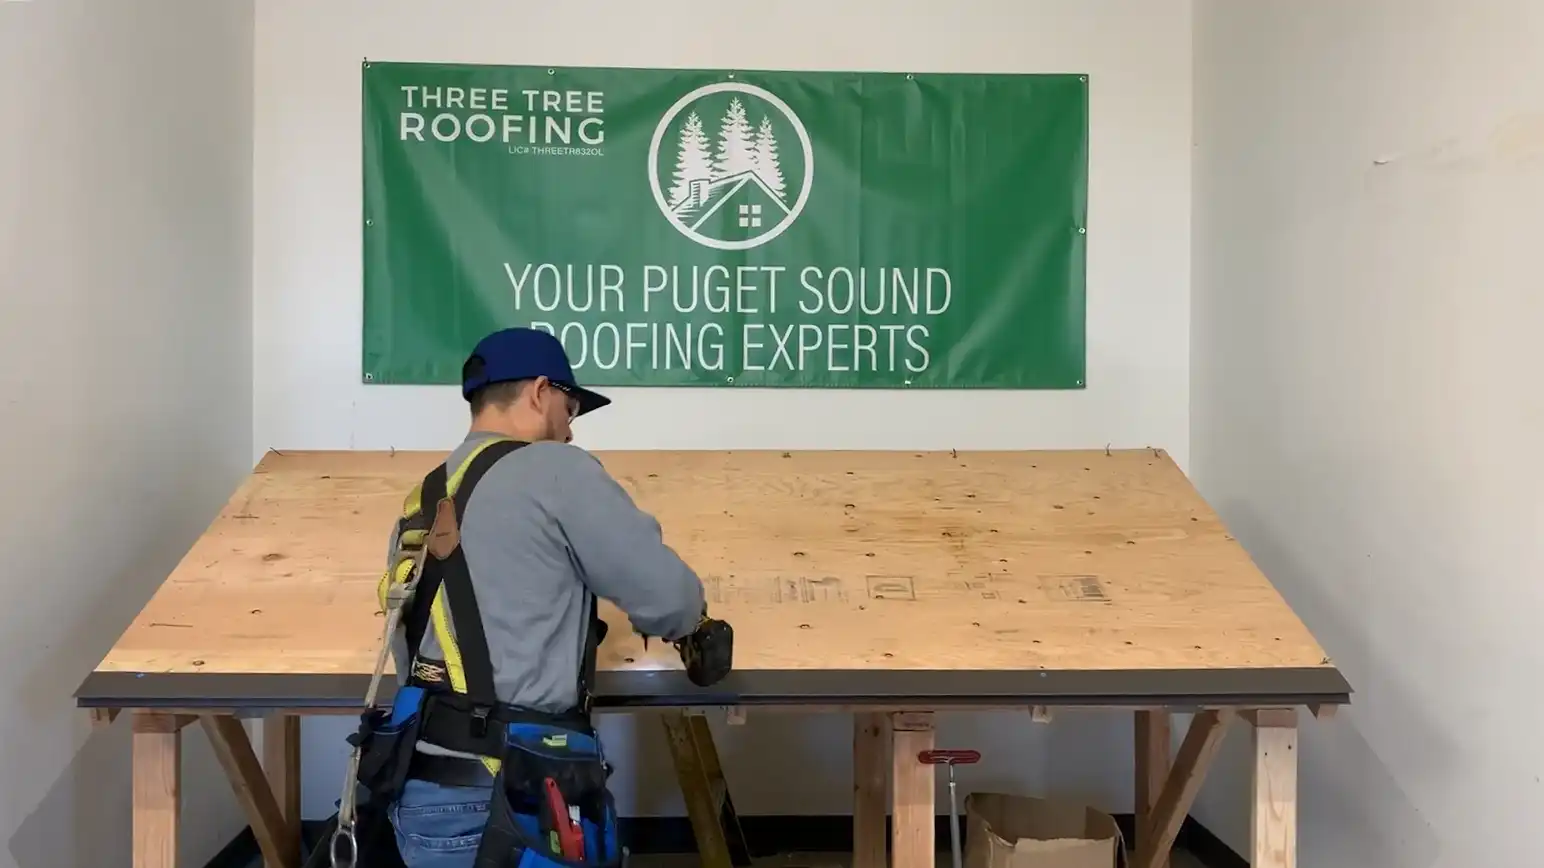
Today, we are going to show you how we install our standing seam metal roofing systems. Our metal roofers are factory trained and certified experts and this should not be replicated at home. This comprehensive video will walk you through our roof deck inspection process, ice and water synthetic underlayment installation, and metal panel installation. All of our metal roofs are hand-bent, hidden fastening systems, so all of the rivets and nails are hidden to protect them from the elements.
Three Tree Roofing's Installation Process for a Nu Ray NRM-1000 Standing Seam Metal Roof on your Home
Today, we are going to show you how we install our standing seam metal roofing systems. Our metal roofers are factory trained and certified experts and this should not be replicated at home.
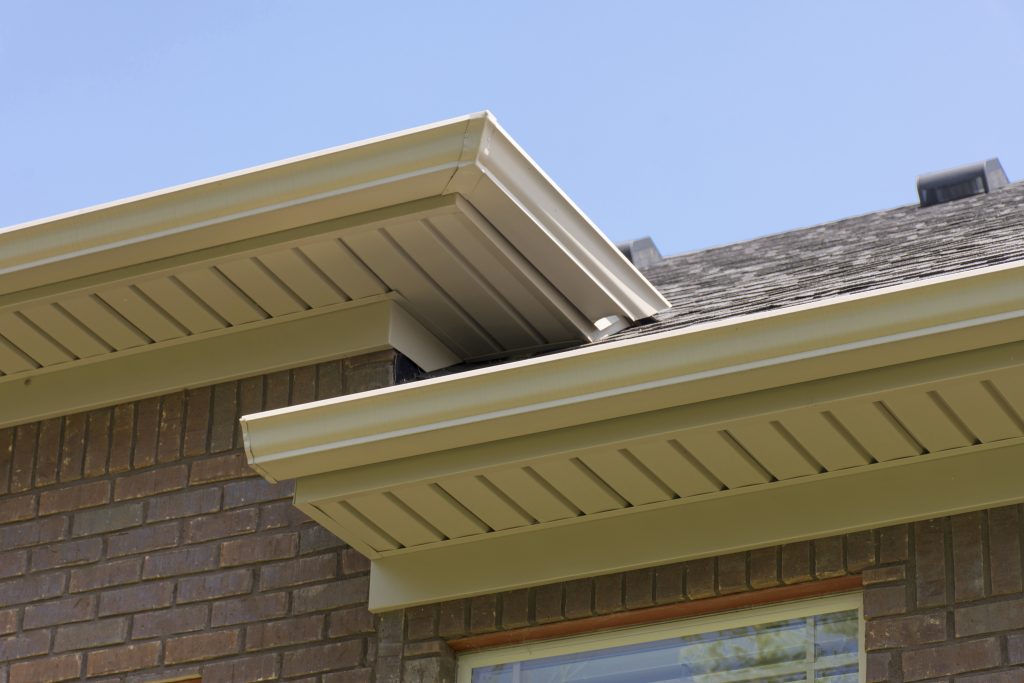
Step 1: Install Hook Eave Gutter Edge Metal
This ties the roofing system into the gutters. This way, as water flows off the roof, the plywood is protected and the water is able to make its way directly to the gutters.
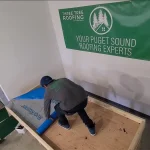
Step 2: Install Ice-and-Water Shield
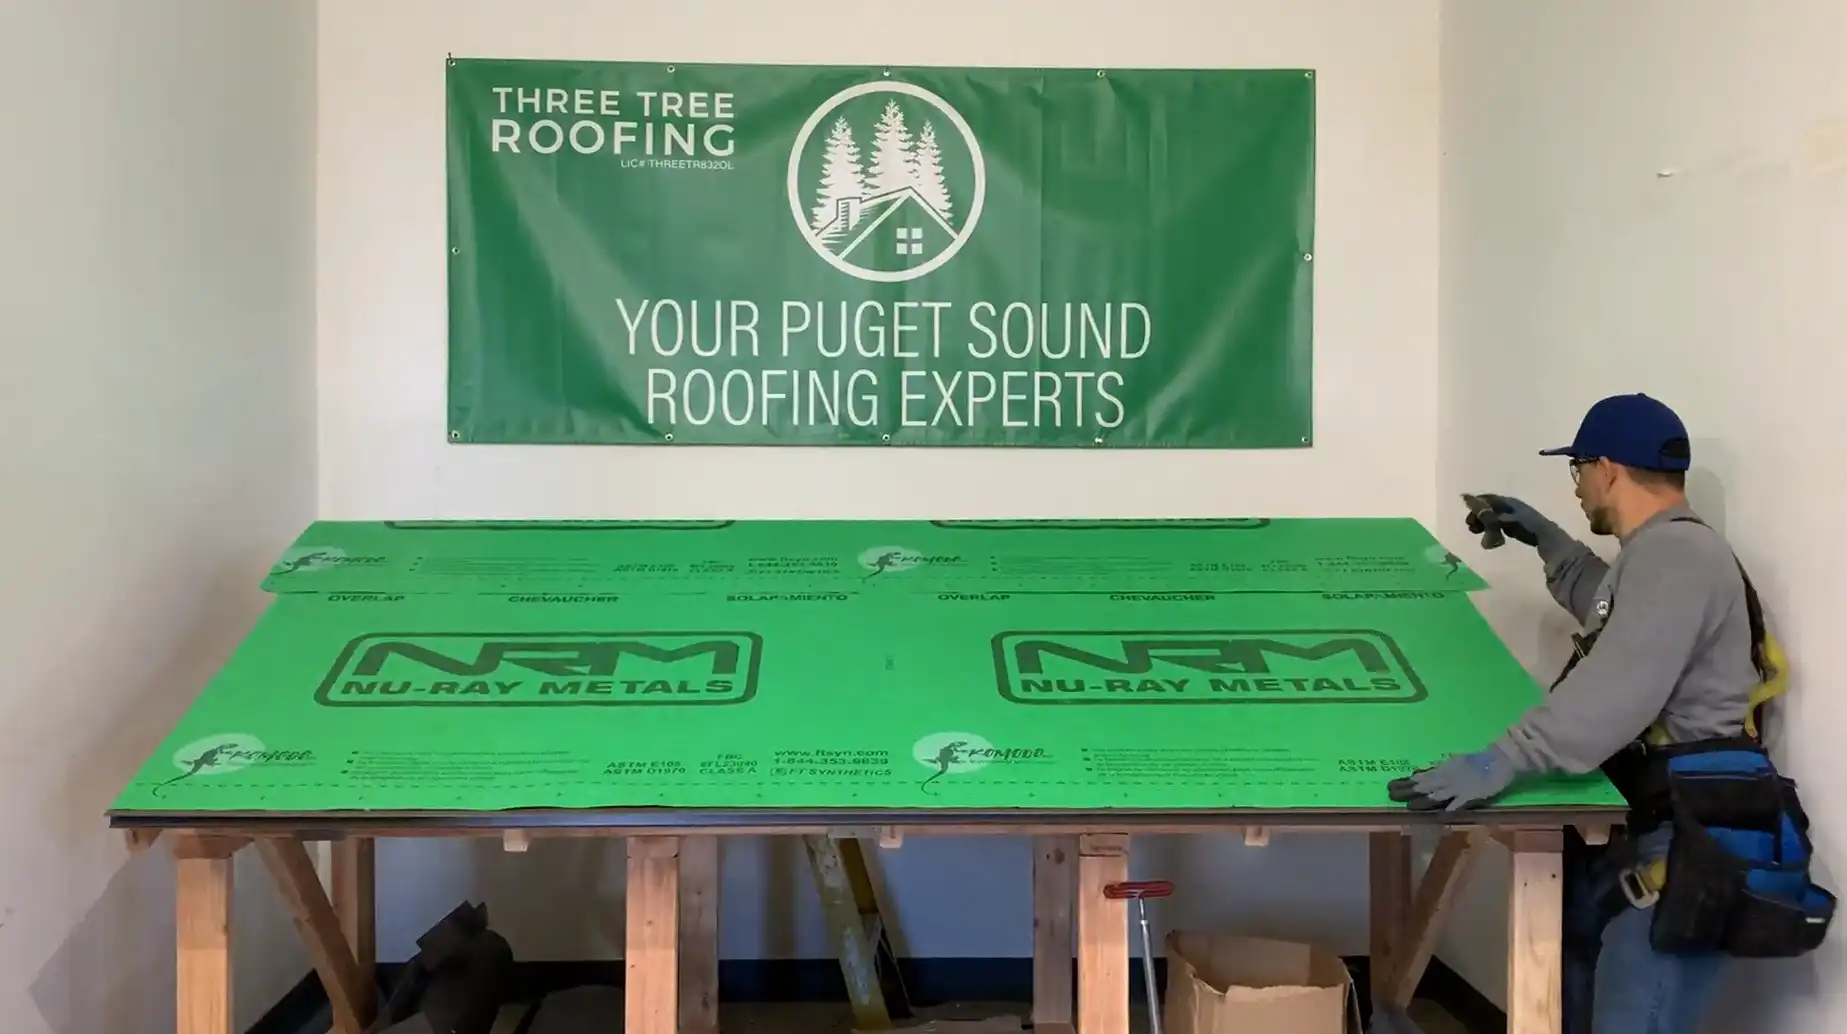
The Ice-and-water shield is applied directly to the plywood. The Ice-and-Water shield uses a synthetic backer, with a smooth fabric over the top surface that supports the metal panels. As the metal expands and contracts with the weather and heat over the course of its lifetime, the synthetic backer does not wear against any of the paint on the metal and prevents rust on the backside of the metal panels. Making sure the right products like this are used is highly important when ensuring the metal roof lasts its full lifetime.
Step 3: Hand Bending the Metal
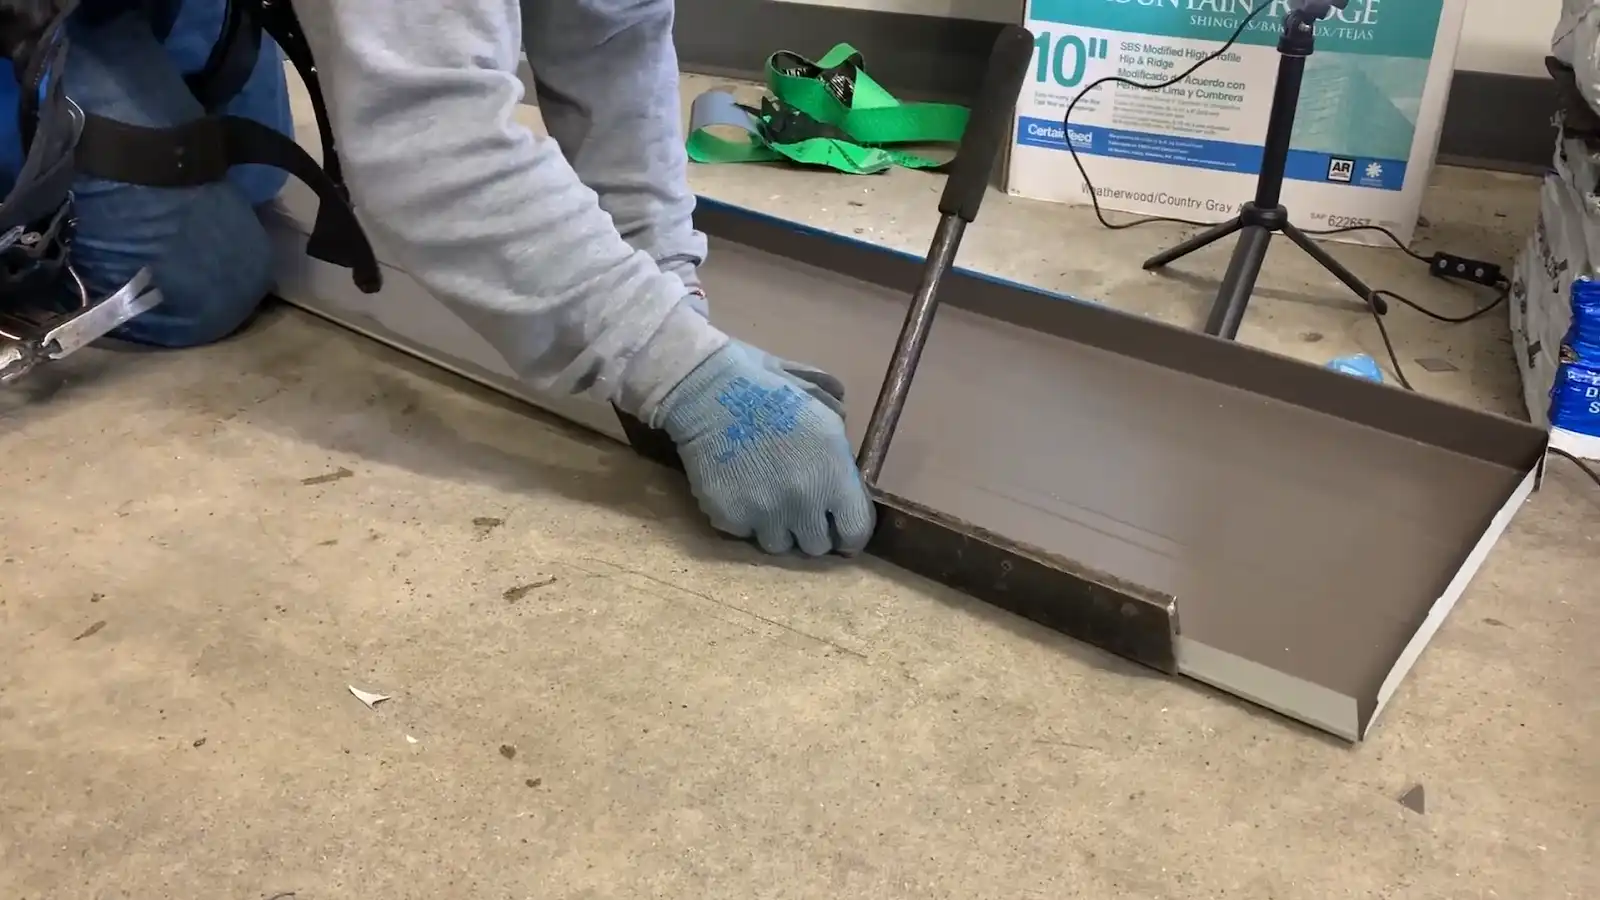
This is something we like to do with all of our metal roofs. The hand Bent process allows for the metal to hook into the gutter-edge metal we installed earlier. This makes everything tight and tied together and ensures there are vulnerable areas leading to the plywood.
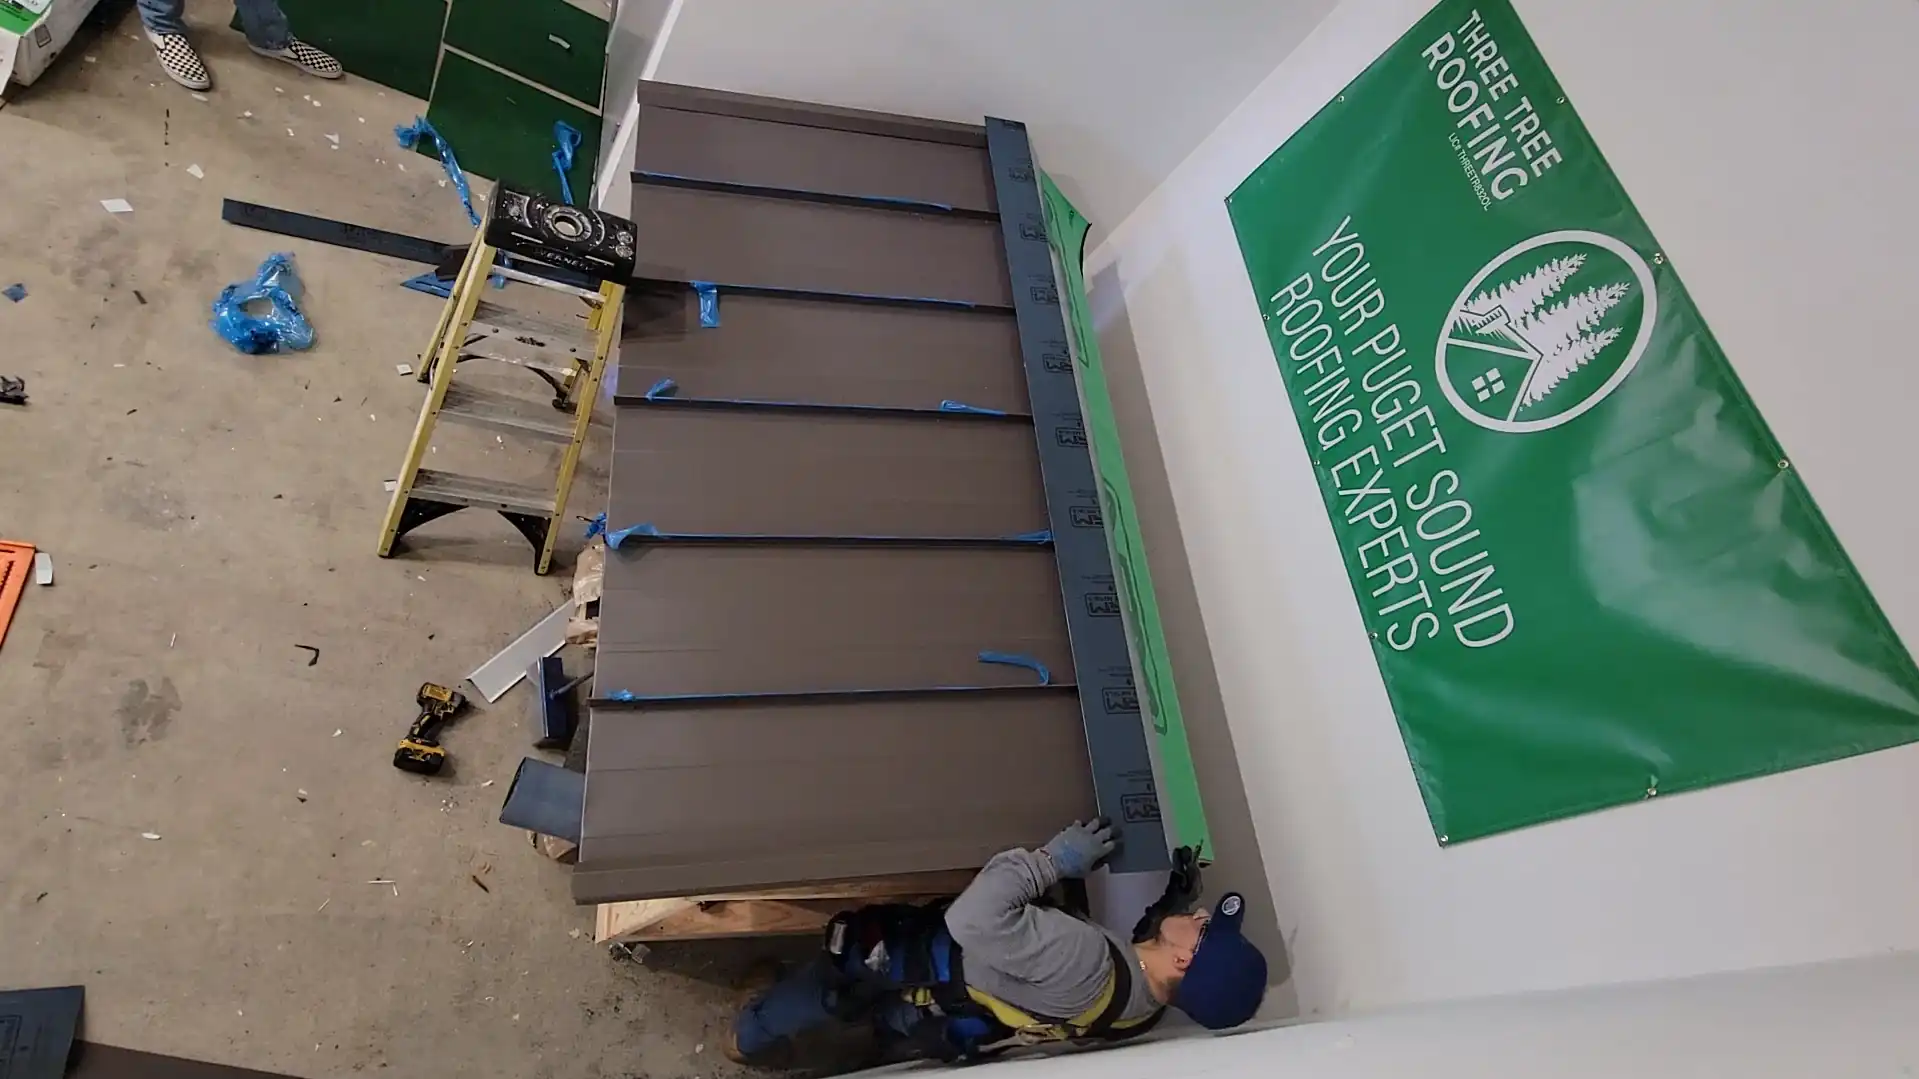
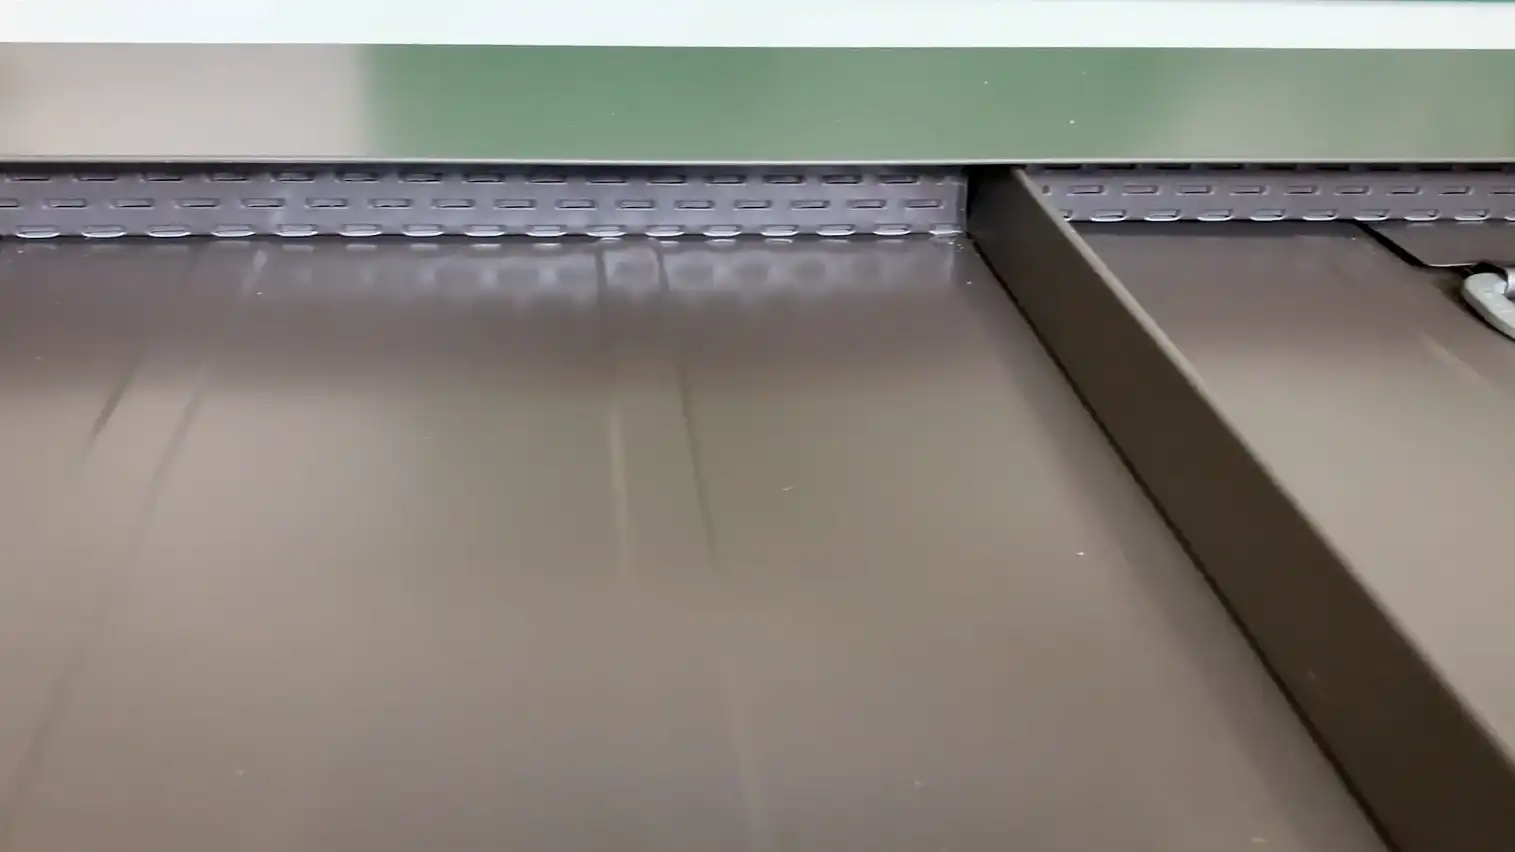
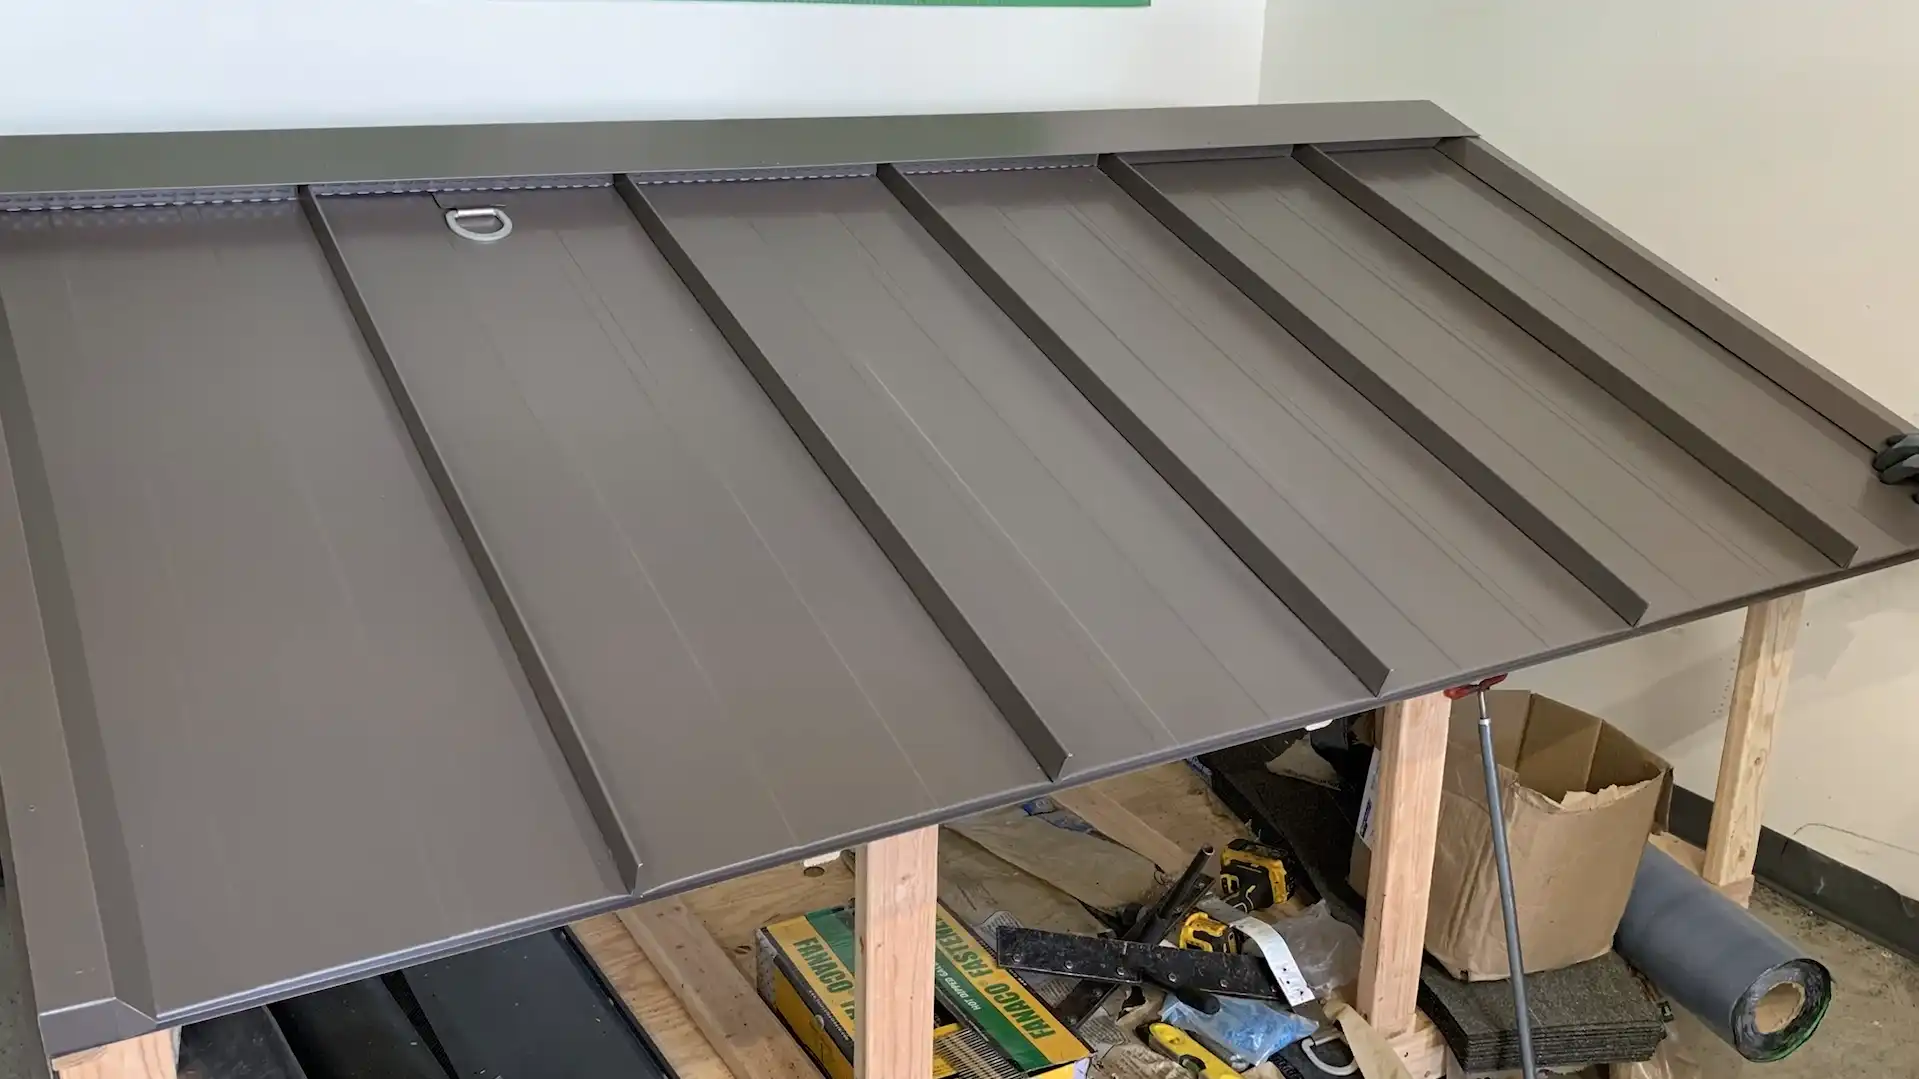
Step 4: Metal Panel Installation
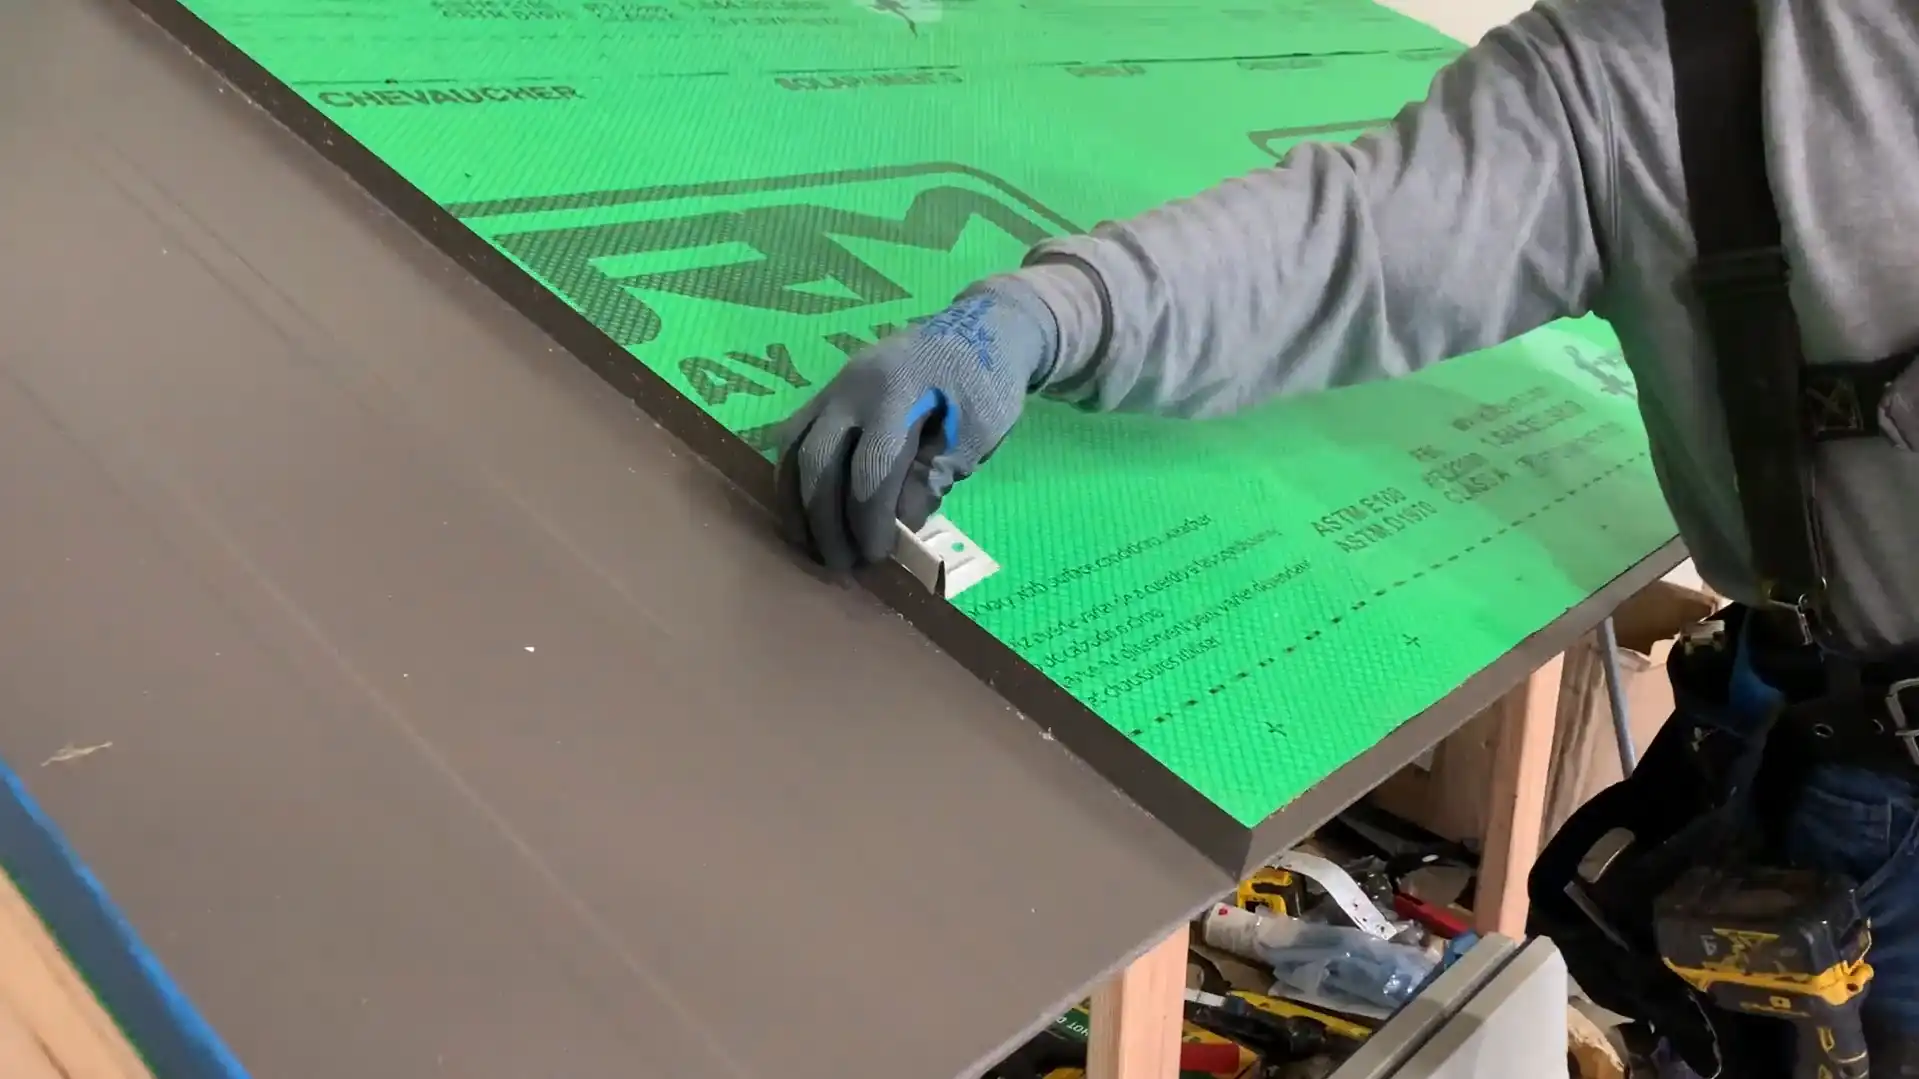
Once we have all of our metals cut and hand bent, we will begin to install the panels into the roof face. The panels are secured to the roof with fasteners that are secured directly to the plywood. Once this is in place, the next metal panel is going to clip over the fasteners securing the panels. This process is continued until all of the panels are installed into the roof This hides the screws from any kind of weather, and further prevents rust and helps the roof last its full lifetime.
Step 5: Rake-edge Metal Installation
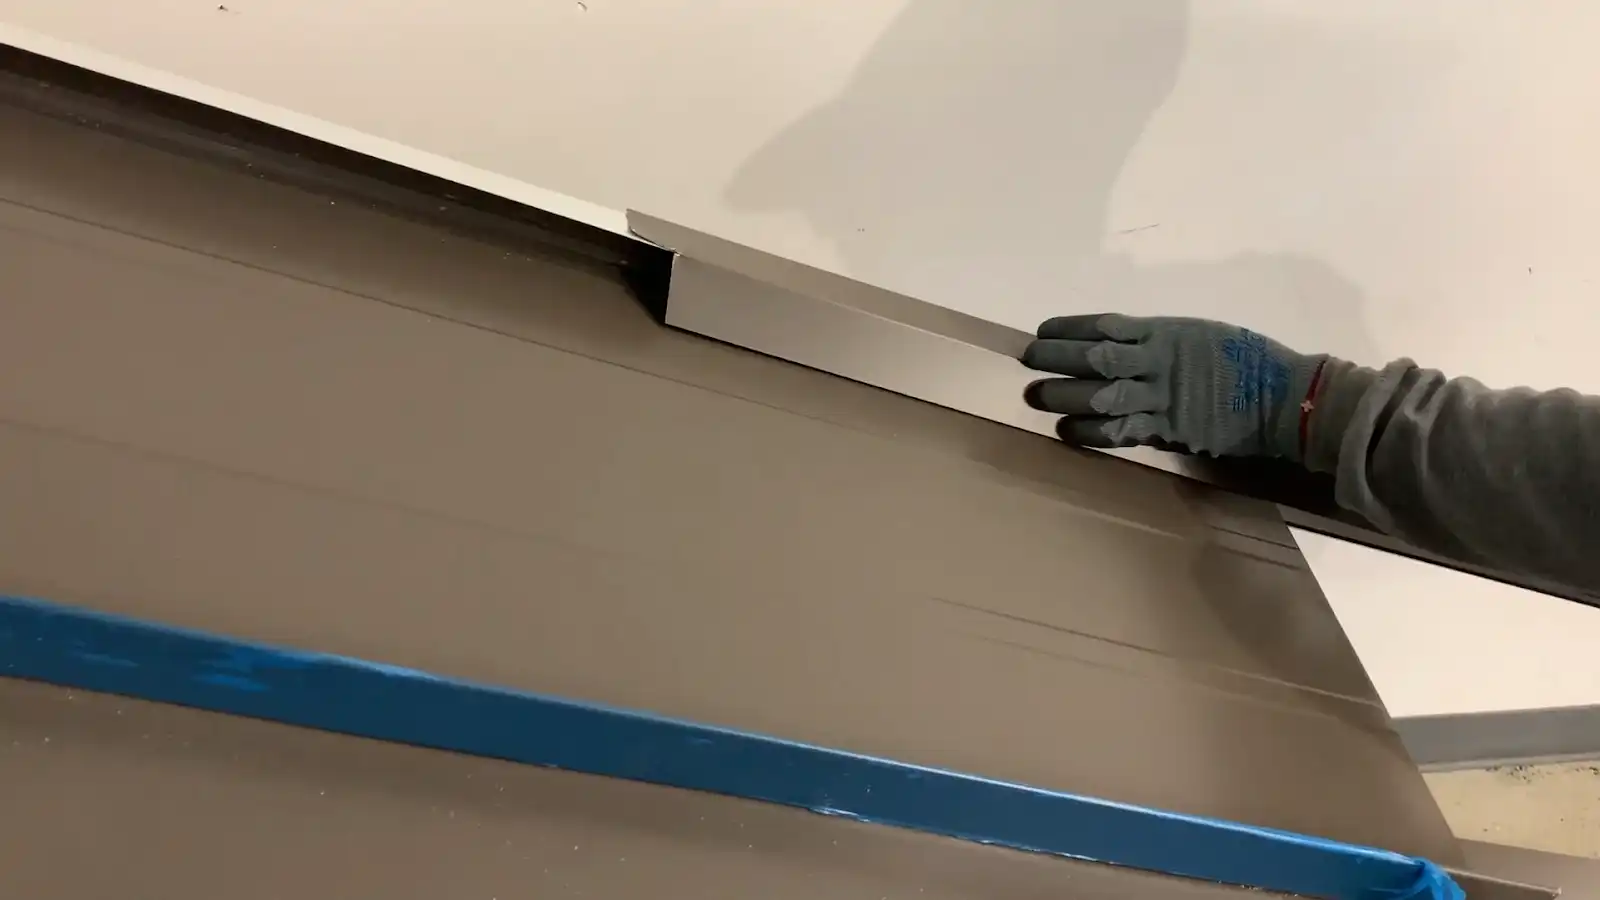
The rake edge metal goes on the edge of the roof face. We order this material specially bent so that it clips directly into the metal. This prevents us from using screws that could potentially get corroded due to weather. This is a true hidden fastening roof system where all of the screws, clips, and fasteners are hidden from the elements, securing the roof will last its full lifetime.
Step 6: Ridge Vent Installation
Now that the rake edge metal is installed, we are ready to install the ridge vent and ridge vent closure. This is the last piece to secure the roofing system that will finish the roof. The ridge vent is a perforated piece of metal that is installed along the ridge that allows air to escape the attic, allowing for optimal ventilation. This is then covered with a color-matching piece of ridge cap that is riveted to the panels and secures the roofing system.
Step 7: Enjoy your new roof!
Thank you for following along on our unique process for installing a Nu Ray Metal NRM-1000 roofing system. As you can see, we always leave the safety anchor, to allow for safe roof maintenance in the future.
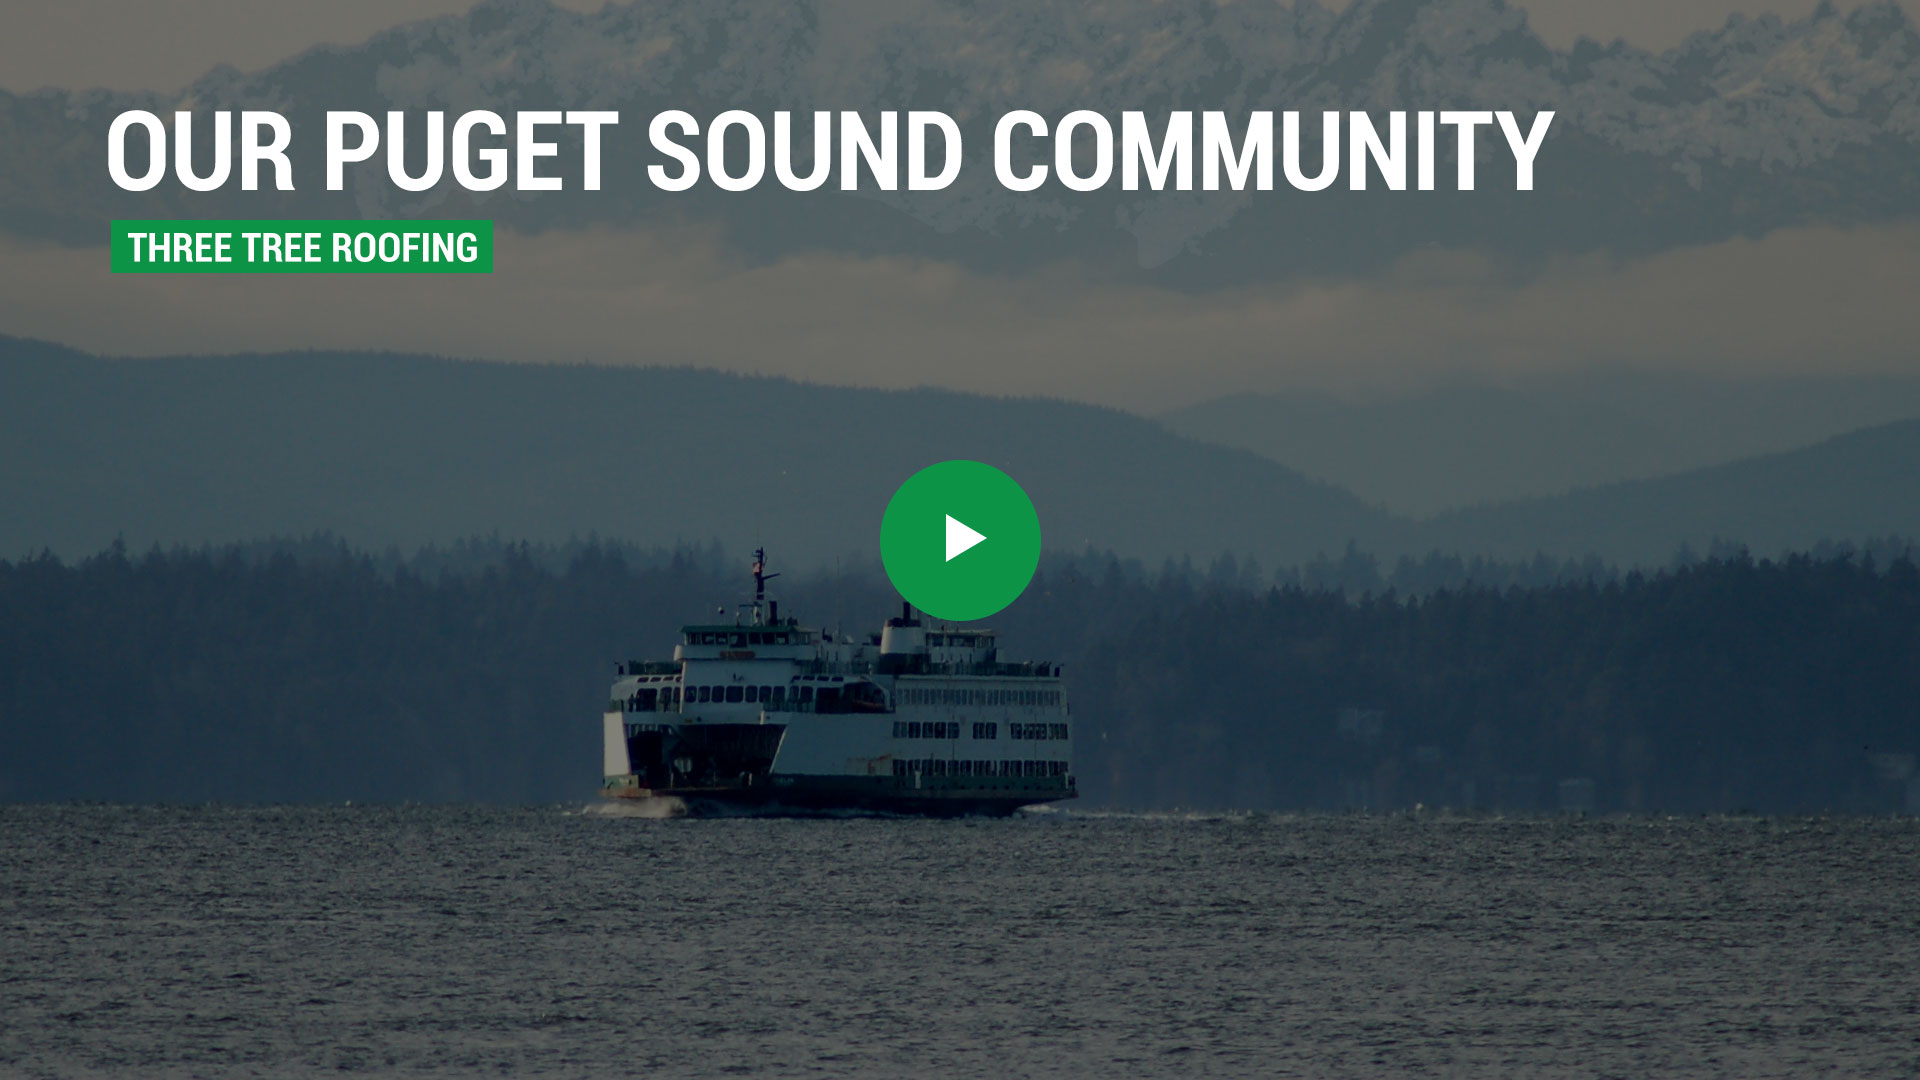
We hope you enjoy this article. If you are in Seattle or the Puget Sound Area and have question about your roof, please contact us online or call us at (206) 312-7663 (ROOF). Now on with the show!
We hope this article was educational and provided a clear view of what you can expect when Three Tree Roofing replaces your roof. If you enjoyed this article, check out our other Roofing 101 articles:
- Roofing 101: Three Tree Roofing - Roof Installation Overview
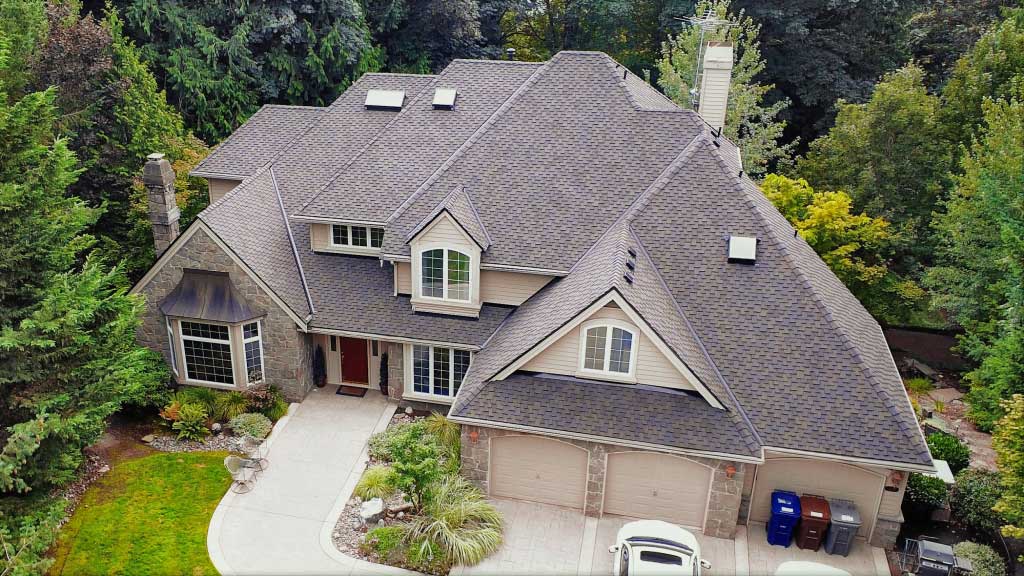
- Roofing 101: Composite Asphalt Shingle Roof Installation - CertainTeed Landmark
- Roofing 101: Composite Asphalt Shingle Roof Installation - CertainTeed Presidential
- Roofing 101: Metal Roof Installation - Nu Ray NRM-1000 Standing Seam Metal
- Roofing 101: Cedar Shake Shingle Roof Installation - Hand Split Cedar Shake
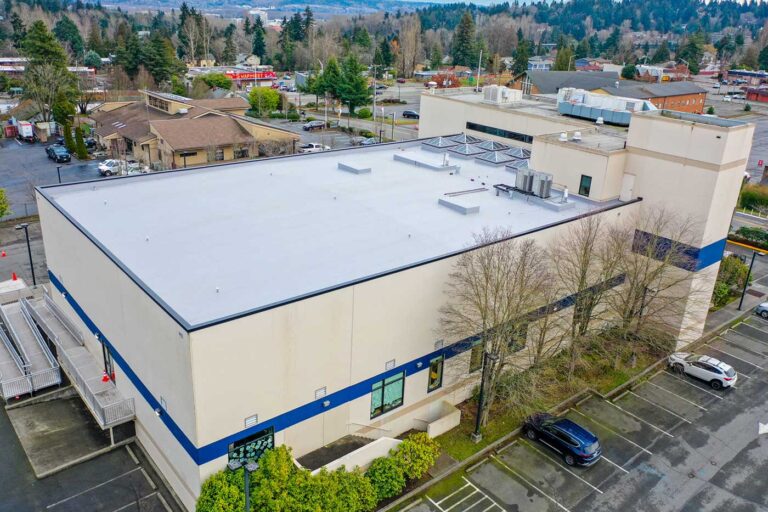
- Roofing 101: Flat Roof Installation - Weatherbond TPO Flat Roofing Installation
If you are a customer and scheduled for a new roof, we look forward to seeing you, installing your new roof, and you seeing your home with it's new roof. If you are in Seattle or the Puget Sound Area and in need of a new roof, we hope you consider us for your roof replacement. For a no pressure free estimate contact us online or call us at (206) 312-7663 (ROOF).